
 Continue with onX Maps
 Sign in with Facebook





 Early Access
Routes in Turret Dome


|
Aid Route T 5.10a 6a 18 VI+ 18 E1 5a PG13 |
|
|
Anya Direct T 5.10b/c 6b 20 VII 20 E2 5b |
|
|
Canine Rescue S 5.10a 6a 18 VI+ 18 E1 5a |
|
|
Car Stud S 5.9 5c 17 VI 17 HVS 5a |
|
|
Escorndido S 5.10a 6a 18 VI+ 18 E1 5a |
|
|
Fashionably Uninvited T 5.10+ 6b+ 21 VII+ 20 E3 5b |
|
|
Fishook T 5.5 4b 13 IV+ 11 MS 4a |
|
|
Guide's Route T 5.6 4c 14 V 12 S 4b |
|
|
Jaws T 5.6 4c 14 V 12 S 4b |
|
|
Junior Jules Doinks a Digit S 5.10a/b 6a+ 19 VI+ 19 E2 5b |
|
|
Knup T 5.7 5a 15 V+ 13 MVS 4b X |
|
|
Mexicanist, The S 5.9 5c 17 VI 17 HVS 5a |
|
|
Moonshine Slab T 4th 1 2 I 2 M 1b R |
|
|
Most Toppest S 5.7 5a 15 V+ 13 MVS 4b |
|
|
Schooldaze T 5.5 4b 13 IV+ 11 MS 4a |
|
|
Sloppy Shoes S 5.10a 6a 18 VI+ 18 E1 5a |
|
|
Smoke Pot... Check Your Knot S 5.10b 6a+ 19 VII- 19 E2 5b |
|
|
Sunshine Slab T 5.0 2- 4 I 6 MM 1c |
|
|
Upper Arch S 5.9 5c 17 VI 17 HVS 5a |
|
|
Upper Lip T 5.8- 5b 16 VI- 14 VS 4c |
|
|
Velvet Habel T,S 5.7 5a 15 V+ 13 MVS 4b |
|
|
Welcoming, The S 5.4 4a 12 IV 10 VD 3c |
|
|
White Stress T,S 5.12- 7a+ 25 VIII+ 25 E5 6a R |
| Type: | Trad, 65 ft (20 m) |
| GPS: | 38.93435, -105.40736 |
| FA: | Bill Schmausser |
| Page Views: | 782 total · 9/month |
| Shared By: | Logan Parr on Jul 19, 2019 |
| Admins: | Leo Paik, John McNamee, Frances Fierst, Monty, Monomaniac, Tyler KC |


 Access Issue: Seasonal Raptor Closures January 1- July 31st, 2016-2021
Details

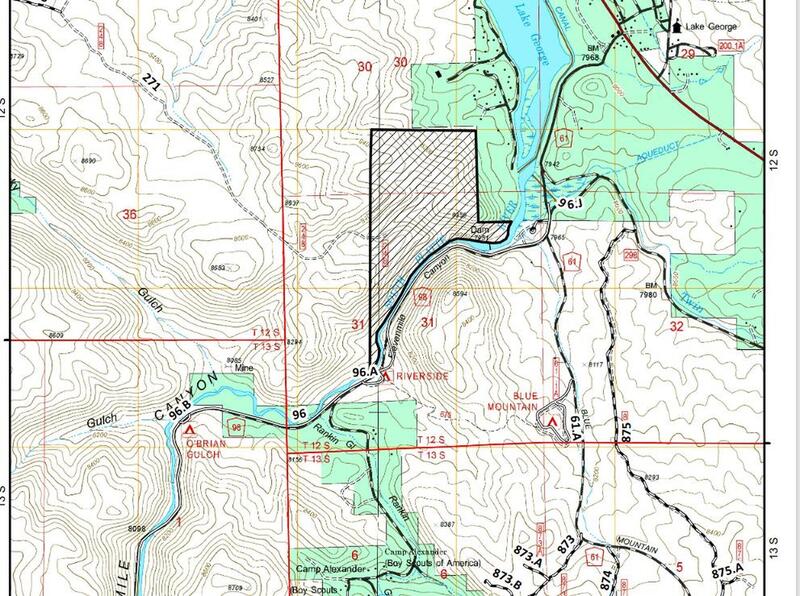
Seasonal Closures in effect January 1-July 31st, 2016-2021.
For details visit:
fs.usda.gov/Internet/FSE_DO…
Maps:
fs.usda.gov/Internet/FSE_DO…
fs.usda.gov/Internet/FSE_DO…
Contact phone number: (719) 553-1400.
Description

The "Elevenmiles to Freedom" guidebook has this route listed as a one star 11a. I climbed it without knowing what it was and gave it 10-. The guidebook also mentions "sketchy cam placements" and "deteriorating rock". Other than the initial pillar, I thought the rock was somewhat dirty but overall quite solid, and the cam placements I found were bomber. I also thought the climbing was fantastic!
Scramble to the top of the small tombstone pillar, and pull the crux bulge using the crazy crystal jug feature and the thin seam. Establish yourself in the crack system, and enjoy technical, interesting movement to the jugs over the lip. The harder moves at the crux are protected by bolts. A bit of cleaning up will help it which will only happen with more traffic, so get out and try this thing!
Location
Locate the ~15 foot tall, "tombstone" pillar with a bolt on it and a chimney of sorts to its left. There's a protruding, quartz jug sticking out of the headwall above the pillar with a thin seam starting just left of it. The route is between "Canine Rescue" (climber's left) and "Aid Route" (climber's right).


0 Comments