Continue with onX Maps
 Sign in with Facebook


Photos of BEAUTIFUL HARDWARE pt2


|
How do you think the visual impact of those compares to other standard glue ins? I’ve got the Bolting+ membership so I’d like to order from HN2 but they don’t carry twist bolts, so I’m between these and the crossovers. These seem like they’ve got a decent footprint. |
|
|
Tal Mwrote: 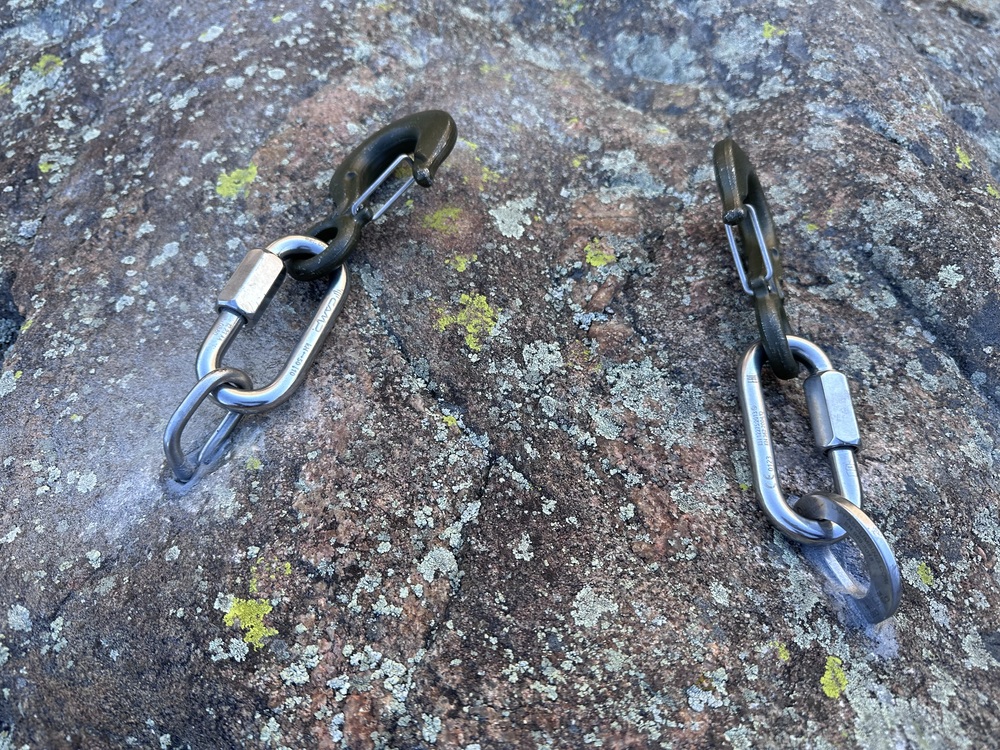 Pretty similar from my limited use. Right side is a 6mm wire style. I prefer the crossover for a number of reasons, primarily no notching |
|
|
Tal Mwrote: 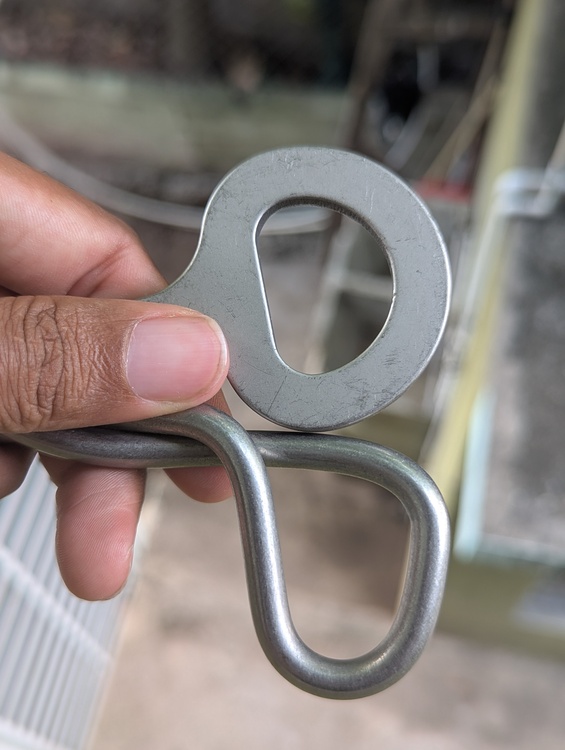   I haven't installed the corkscrew yet however they don't make that much of a difference from the crossovers when you compare them. In the picture is the corkscrew titanium version so it's a bit duller than the crossover stainless steel. IMO, the thinner wire-like body of the corkscrew would be harder to spot from the ground. |
|
|
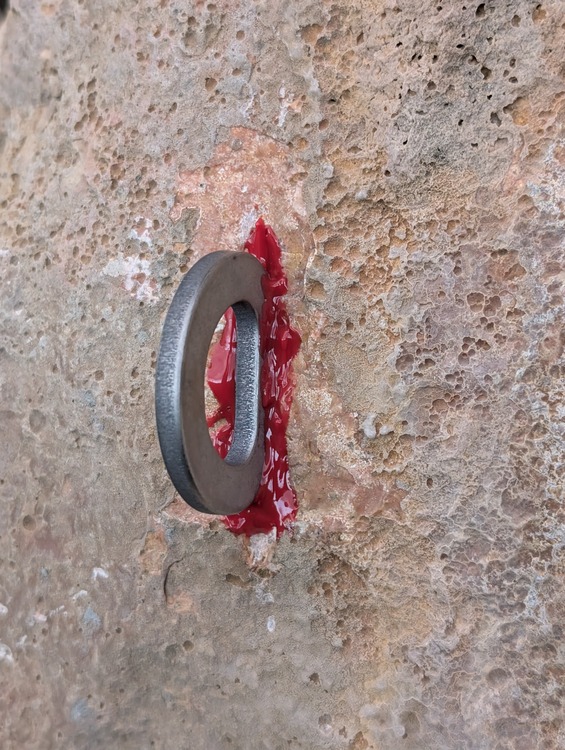
My first glue-ins ever, using tape to block off the notch, otherwise it would have been way uglier.   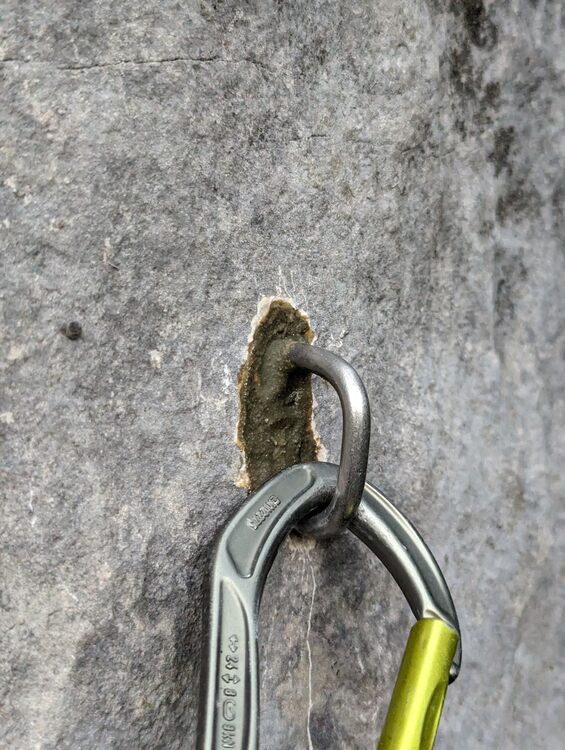 |
|
|
Heliodor Jalbawrote: Nice job! Very clean. I find that just using a paper towel for cleanup works very well and doesn't require as much prep as tape. I stuff about one for each bolt in my kit. |
|
|
For what it’s worth, I’ve found I’ve been able to dial in glue amounts with twist bolts pretty easily. I’m generally around 1 of the blue shop paper towels per route with twist bolts. I’ve found the other types (wave bolts, SLBs) is a bit harder to dial in for some reason |
|
|
Heliodor Jalbawrote: Welcome to the sticky side! Good advice from others. Also a bit of drill dust sprinkled on the outside of the glue really helps mimic the rock texture and dulls the epoxy sheen! |
|
|
Heliodor Jalbawrote: I hate to be the negative criticism but you're not supposed to notch these bolts. These would be hard to clip and possibly put stress against the caribiner by having it too close to the rock. Especially the second and third picture are not good. |
|
|
No worries. Critique is always welcome! This is the original version of the bolt, installed a year ago. Not sure if TeamTough changed the shape once they got the certifications and made improvements but the eye on these bolts has a generous amount of space, unlike the Twist Bolt for example. Quickdraws sit just fine and we made sure to install the bolts out enough to not sandwich the quickdraws. Also, I don't see anything on the product page advising to NOT notch them. Having climbed the routes and clipped these bolts, I can say that the quickdraws are more than free to move around! Maybe the pictures don't do it justice. |
|
|
https://www.team-tough.com/crossover-placement I agree the instructions don't explicitly say you can't notch crossovers, but they are pretty specific about what you CAN do (setting vs not setting, hammer usage, etc) and they even caution about overhammering because the eye can be too small for a carabineer. And of course, the instructional video doesn't show notching. In your second picture, it almost looks like the carabineer is not sitting against the bottom of the bolt eye: 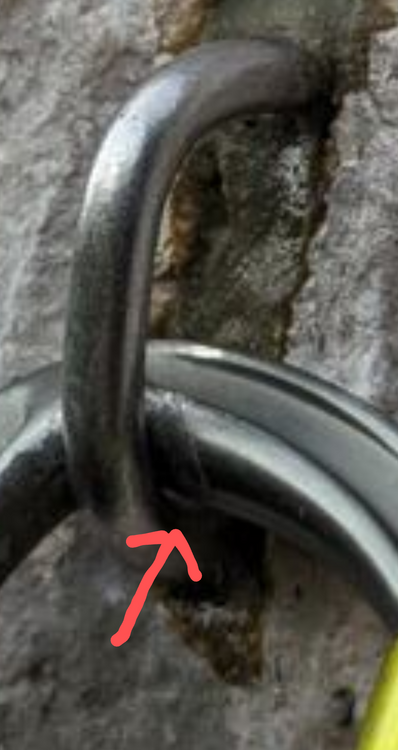 Maybe that's just the camera angle but the pictured carabineer isn't even that big, I would hate to try to clip with a larger carabineer, or two carabineers. I doubt a screw gate would be able to fit through. Sorry for insisting but I really don't think anyone should ever notch twist, wave, or crossover bolts. |
|
|
Noted. Not sure if it's the photo angle or what. I'll go check it out next time I'm there. None of these Crossover bolts were set with a hammer. The eye does indeed get much smaller when in the set position. |
|
|
Heliodor Jalbawrote: Best bolter on the planet! DAMN! |
|
|
Belay Drewrote: Ha!! I’m not trying to be a jerk but all these recent photos are objectively low-quality and ugly glue-jobs. I am however confident that the quality and presentation can rapidly improve. |
|
|
Updated top anchor: old washer stack and chains switched out with camoed SS bolts and QL plus mussy hooks. Only concern was proximity to horizontal crack, but the crack is shallow and the rest of the rock was unquestionably good. Priority given to reuse the holes. Old 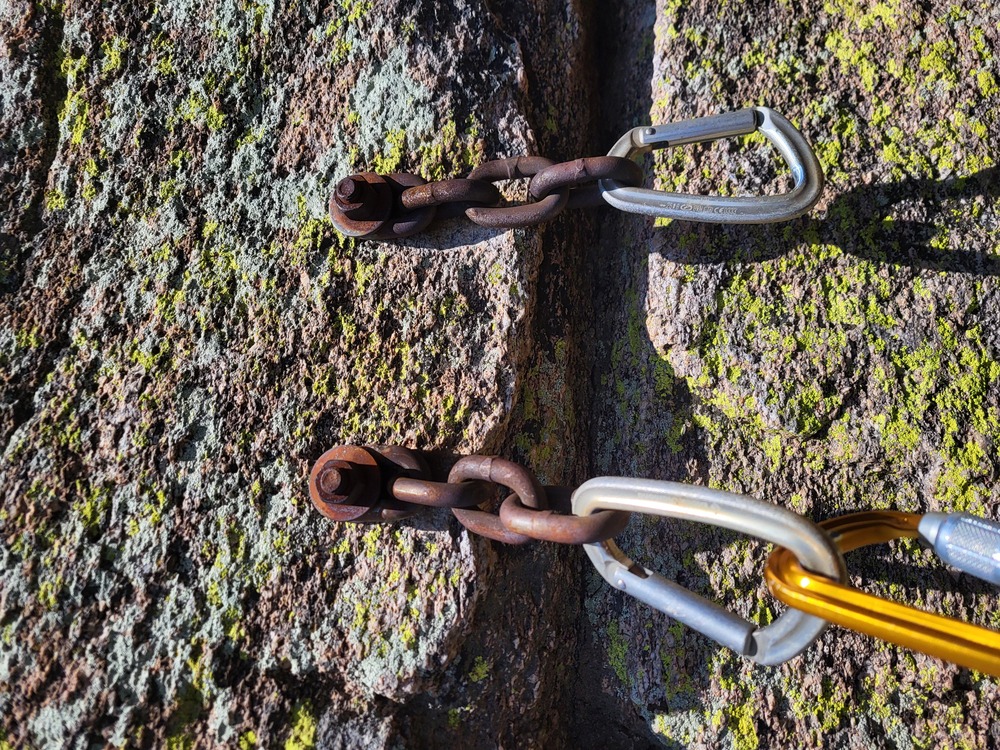 New  |
|
|
Replacing some hardware on Mt Lemmon? anywho.... |
|
|
Matt Sammonswrote: I am just judging from a picture of course, but I wouldn't have reused the original holes. If you have ever used feather and wedges to split rock, I think you would see that they are too close to the edge of the crack, the weakness of which likely continues in further than what is visible. Reusing holds is a due consideration, but safety comes first in my book. Even if you just moved one up and extended it, they would at least not be both on the same plane as the crack, though it wouldn't look as pretty. |
|
|
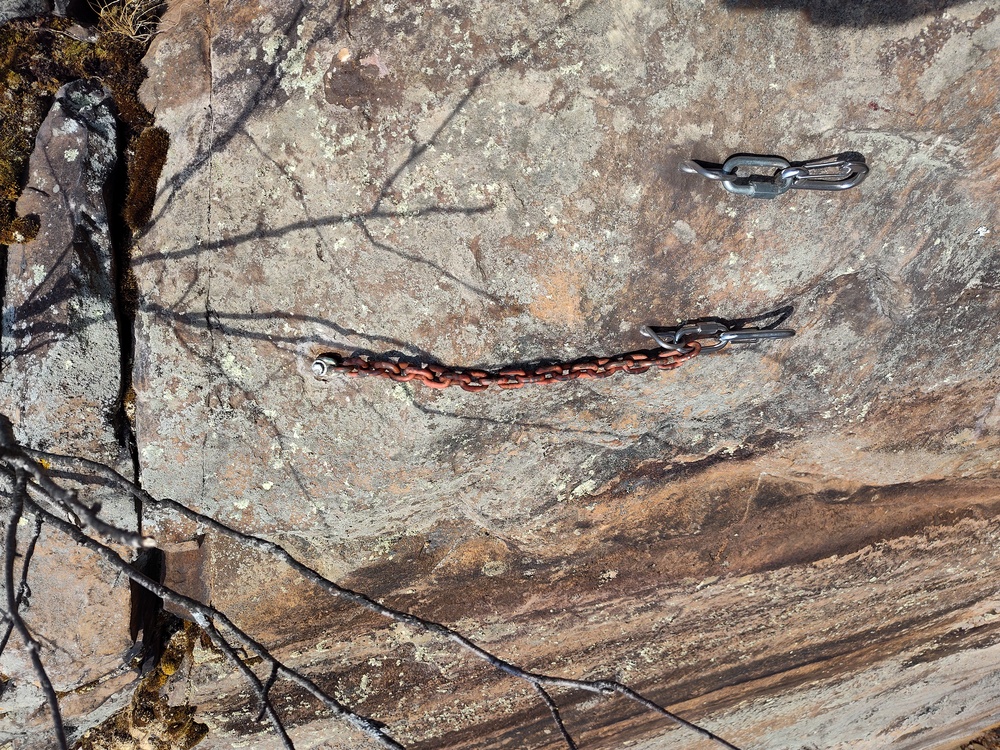 This pic definitely suggests you could use a couple more links of extension on each of these new glue-ins to prohibit rope-twisting while lowering. |
|
|
M Spraguewrote: I agree with Sprague here- in this case the best practice would have been to drill new holes 8” above this horizontal break and widen the holes to 8” apart. (2x drill-hole depth assuming a 4” deep hole, and 2x hole drill depth away from any rock weakness or fractures) |

|
Past Userwrote: And to state what is perhaps obvious, it is very possible to patch old holes using a stick of plumber's epoxy and some chips of the same rock in a way that camouflages them quite well. Just so no one worries that not reusing an old hole has to mean obvious, ugly scars on the rock... |
|
|
Made an accessible top rope access climb using Lappas double ring bolts for the anchor and a crossover bolt for a safety bolt. This setup also allows climbers to easily and safely access a small section of the crag with other routes bolted and more on the way.  |