Continue with onX Maps
 Sign in with Facebook


What does your Woody look like??? 2.0


|
|
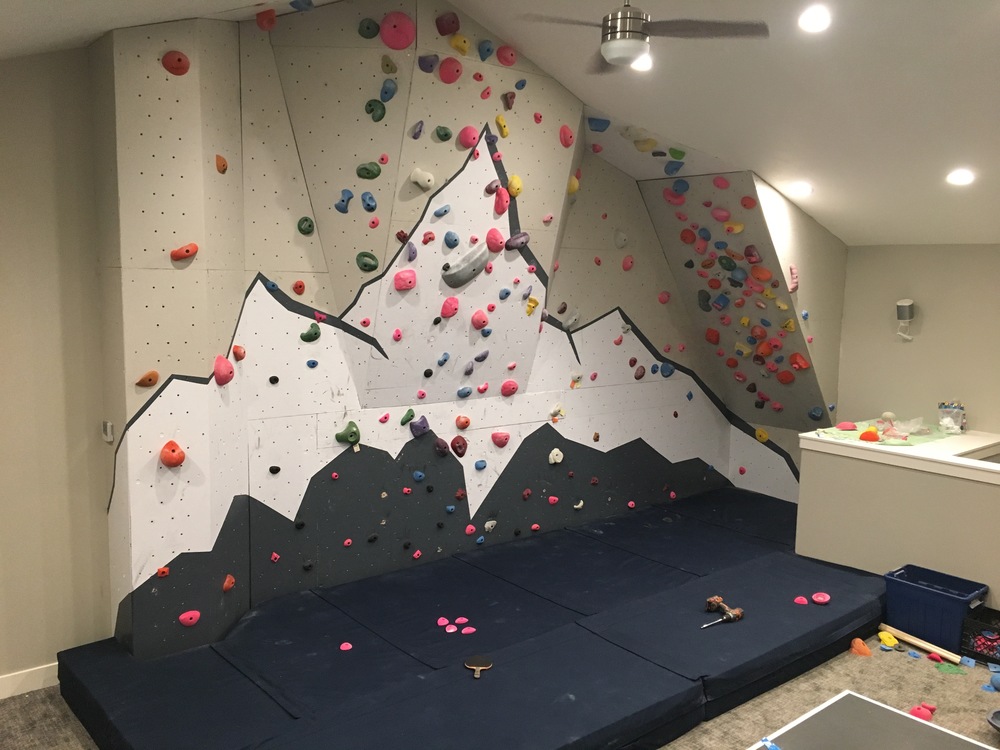
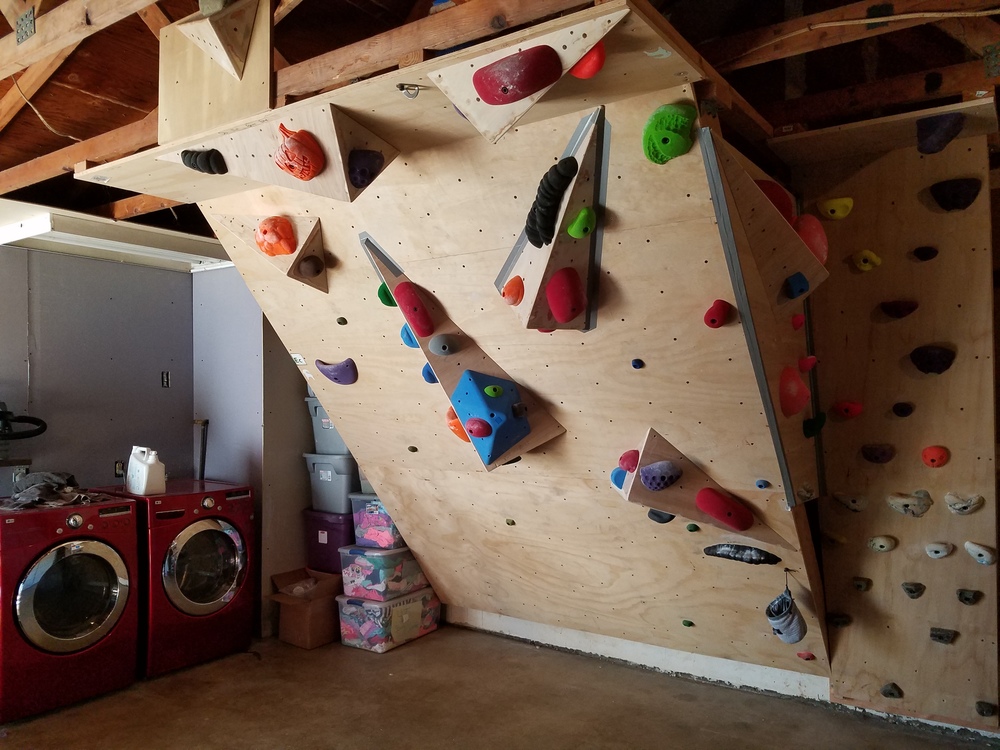
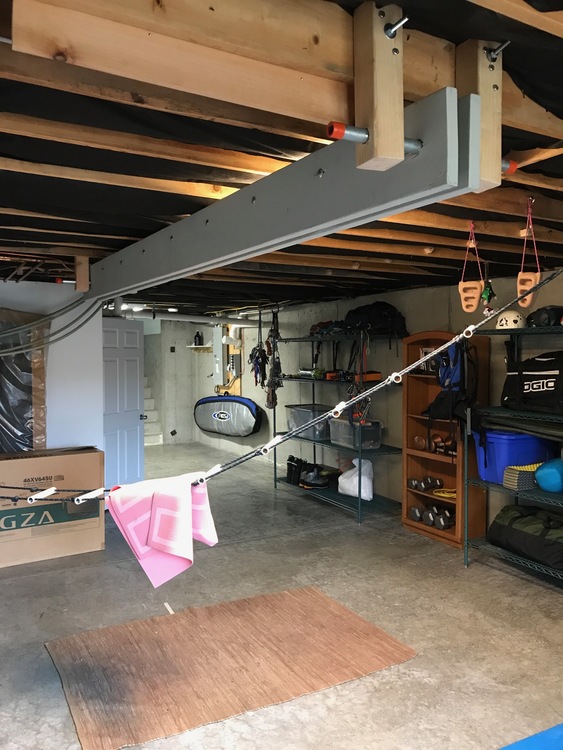
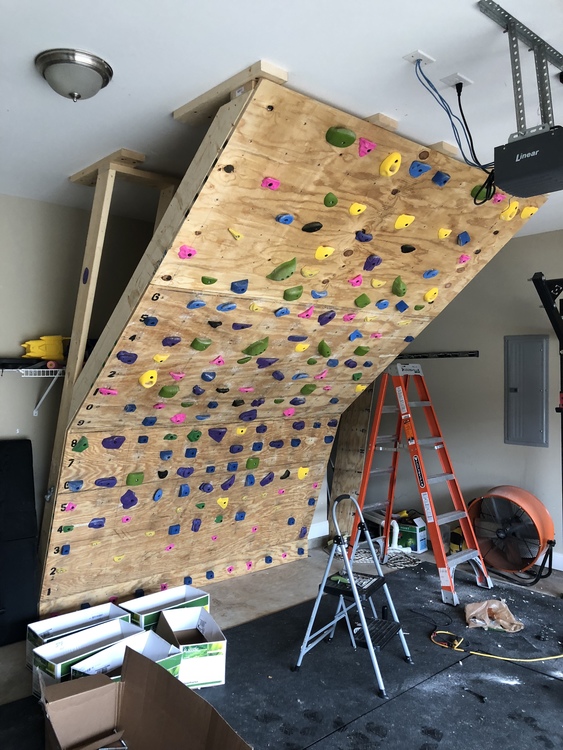 Garage wall 2.0. Added 2nd plane at close to 50 degrees. Was originally going to go with an adjustable wall but got scared about not being able to execute it or trouble shoot it if the hoist had problems. In addition to that, with young kids running around, wanted something solid without moving parts. The add increased the length by about 2.5 ft, very pumped about that. Really like the dual plane set up, the start is nice to fall into underclings and may allow me better rest positions when I get strong enough to do endurance training on this monster |

|
Inspired by my friends
, just finished building a shed which houses a 40 degree tension board and a 20 degree 10x11' wall, which face each other. Father-in-law helped me build a 200 sq ft, 13' tall barn-style shed. Super psyched, its worked out really well. 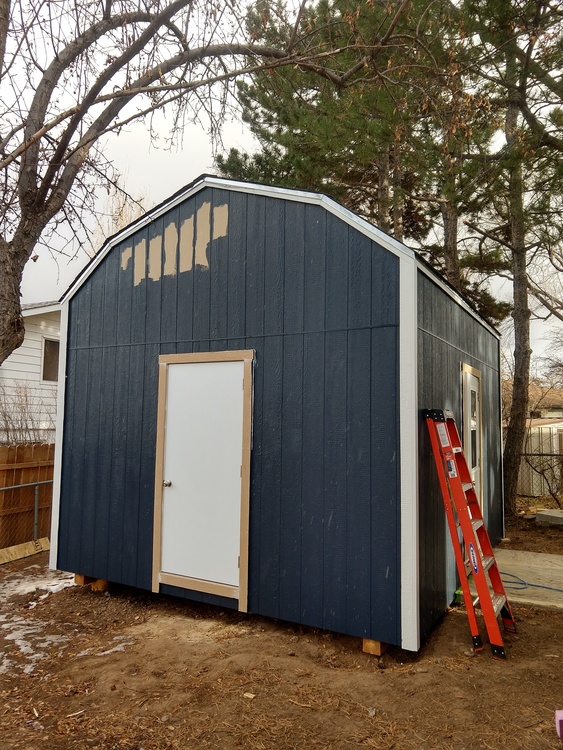 Shed, almost finished painting! 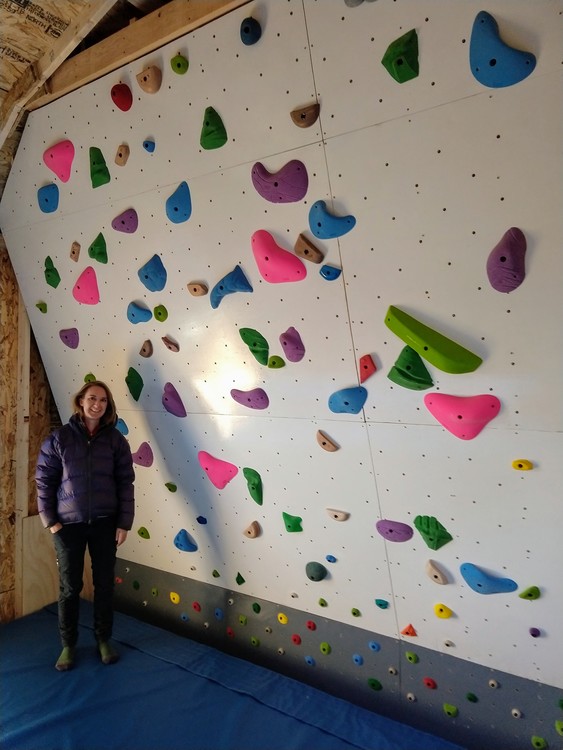 20 degree wall.. more holds to go up soon! 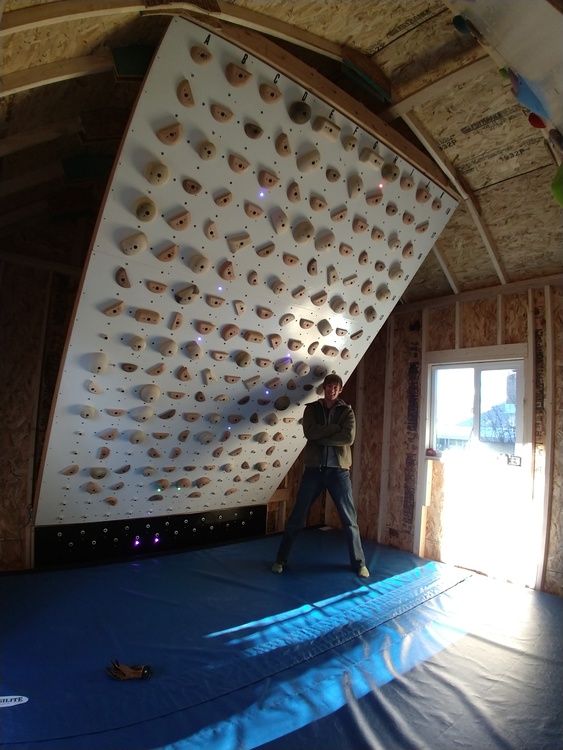 40 degree tension board fully operational |

|
Amazing! |
|
|
Owen, I discovered all the TB build problems you found. If I had the extra ceiling height the raising the kicker would have been really helpful. Great looking setup! |
|
|
Owen S. wrote: Inspired by my friends, just finished building a shed which houses a 40 degree tension board and a 20 degree 10x11' wall, which face each other. Father-in-law helped me build a 200 sq ft, 13' tall barn-style shed. Super psyched, its worked out really well. What did you use for Mats? |
|
|
Brad Johnson wrote: Two 6x12' gymnastic competition landing mats, in the soft (50 ILD) rather than standard (110 ILD) foam type. Yes, its a ton of money but Ive dislocated my ankle in the past in a relatively small gym fall onto a pad edge, and I'd really rather not do that again. Looked at lots of options, and this was a subject of much hand-wringing. The old mattress/carpet cover option could've worked at a pinch, but the wife wasnt keen. |
|
|
 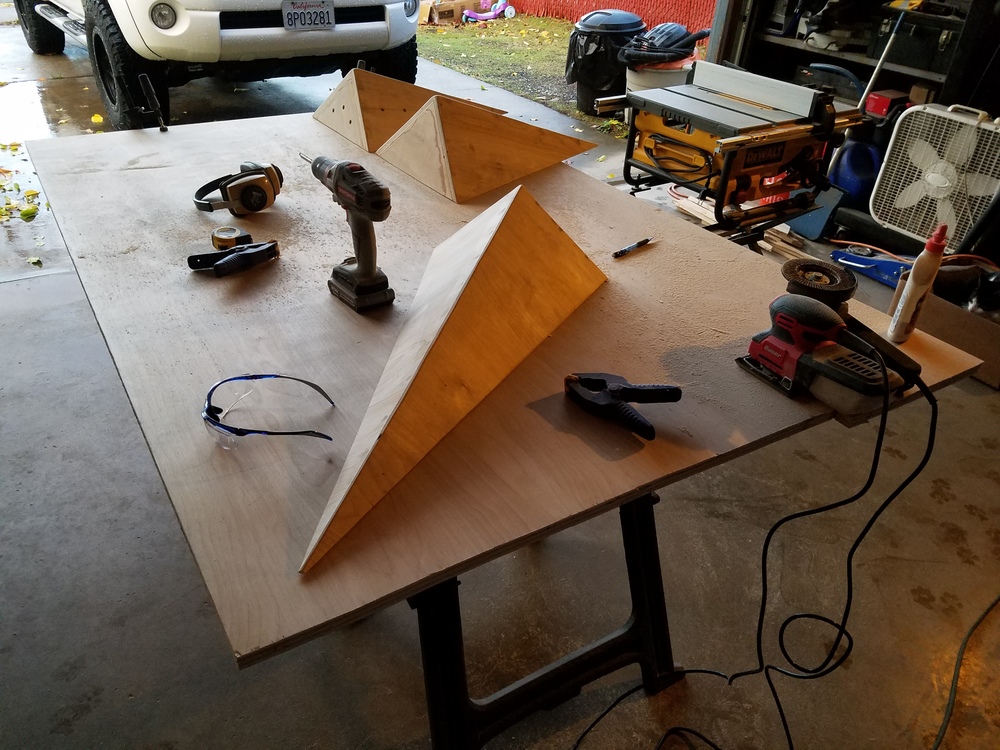 40* & 15*, I enjoy woodworking so I added some volumes...... not like its an obsessive amount of volumes |
|
|
Owen S. wrote: What kind of wizardry is this? That shed looks super small on the outside and its huge inside. |
|
|
Here’s another Tension Board for the thread. Mine is fully adjustable from 20* to 50*. We got our pads from Asana which are 12” thick. Much like Greg Koeppen’s adjustable setup, I used a 2100 lb hoist but mounted it to the ground and used a pulley to adjust the board. Once adjusted, the board rests on chains. We contemplated climbing on the hoist, but I was always a bit uneasy about that. The room I built the board in has concrete under the carpet so I bolted the hoist to the ground with 1/2” by 7” expansion bolts. The ladders allow you to adjust the length of the chains. For one person to adjust the board’s angle from 20-45* takes about 2 minutes. 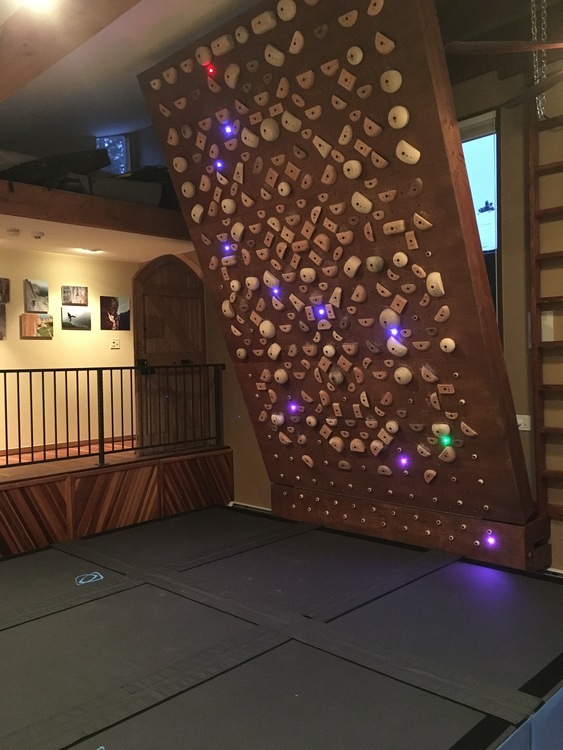 Drilling the holes: you can stack all three panels and use a drill guide to drill 90% of the holds. Just make note of the subtle differences between the three panels. This makes drilling all the holes a lot easier/quicker. 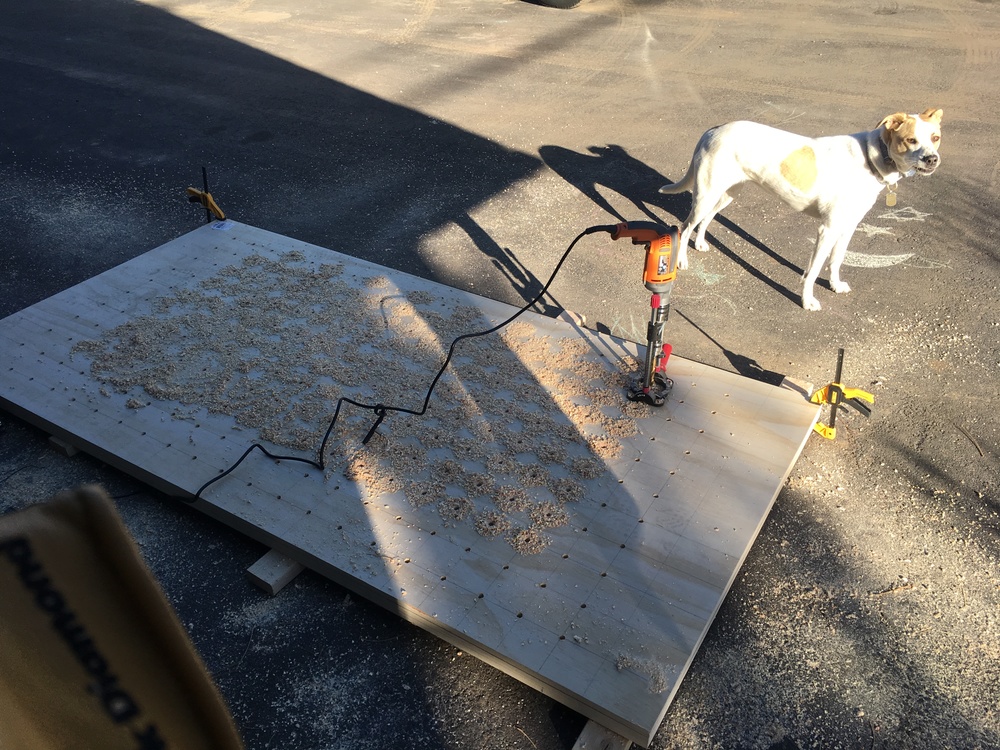 The support for the board: 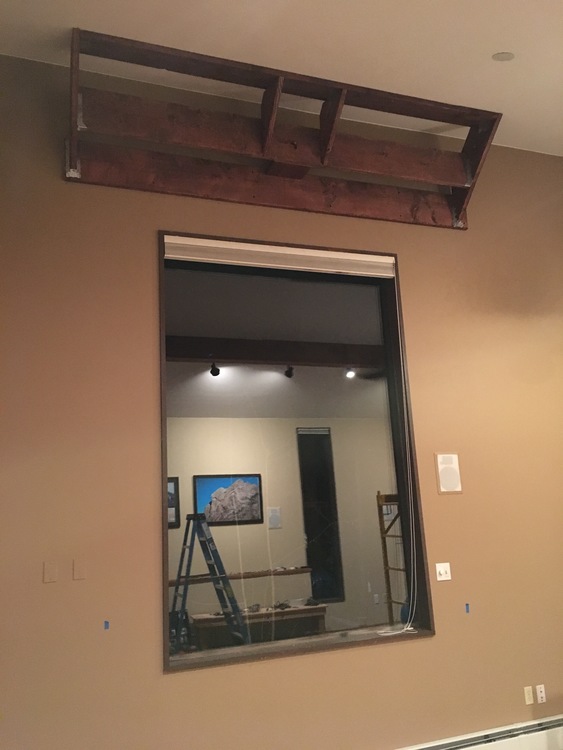 Loads? My neighbor was nice enough to throw my design into solid works. He found that with a 200 lb climber and 450 lb wall there would only be 475 lbs of force on the chains at 45*. 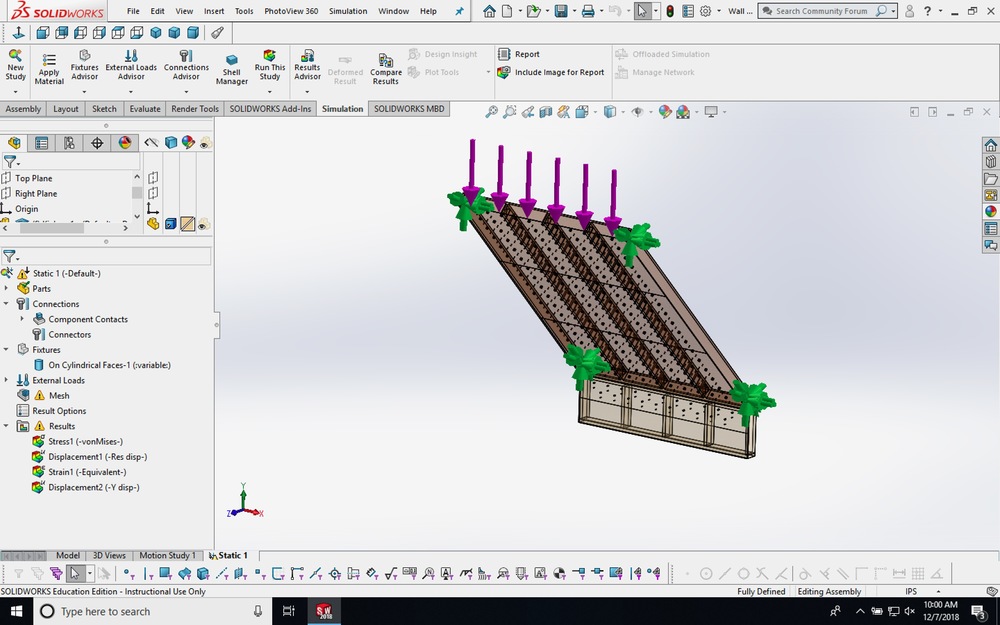 The hoist mounted in the kicker: 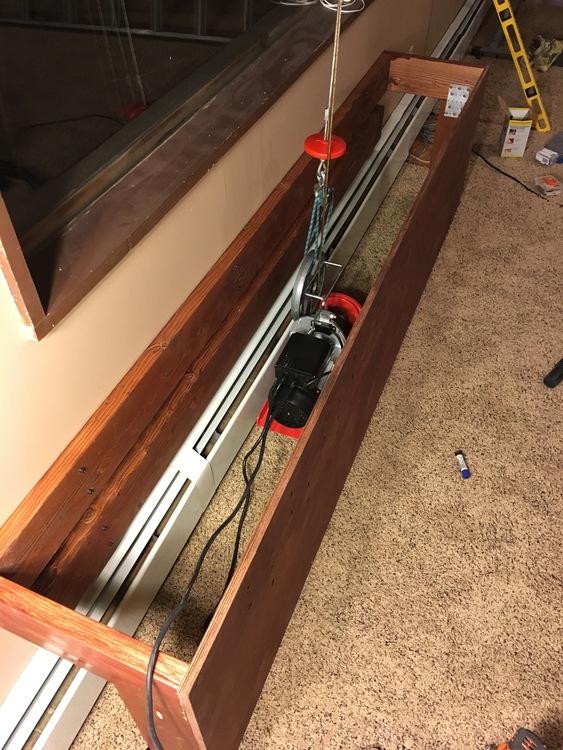 6’ piano hinge and the finished kicker: From here, we flipped the wall portion and used the hoist to line up the hinge and he wall. Then simply hoisted it into the air. 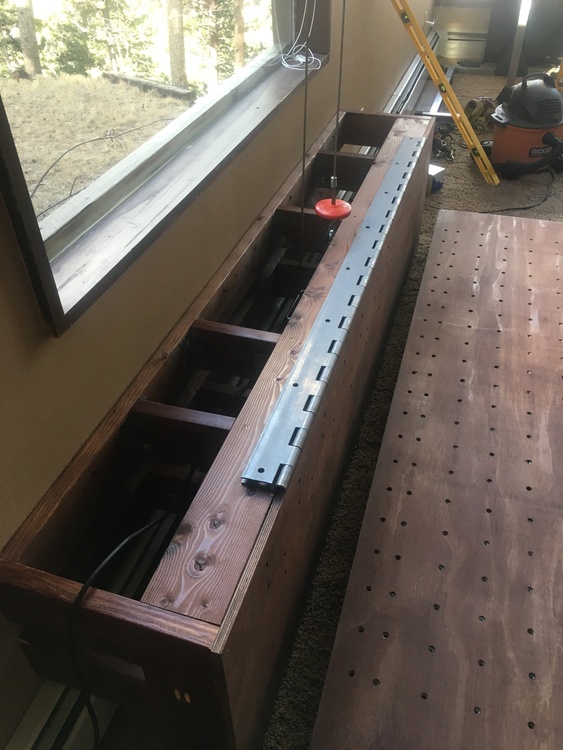 She’s up! 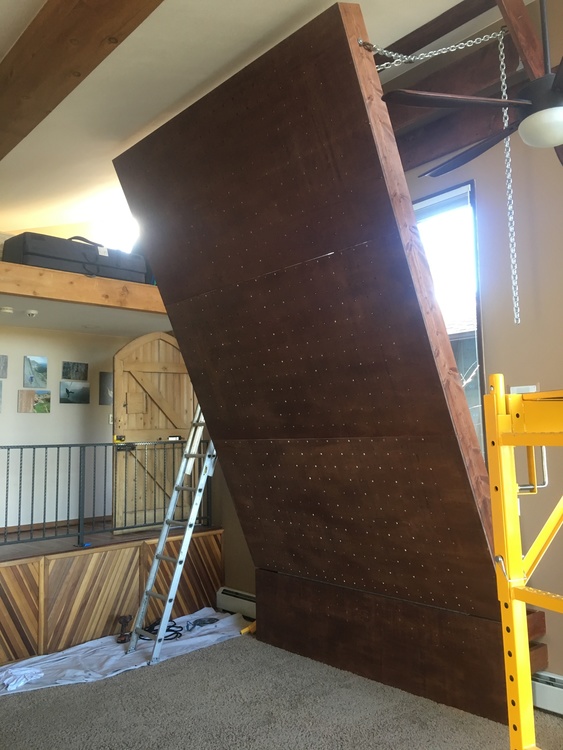 Climbing before the pads arrived: 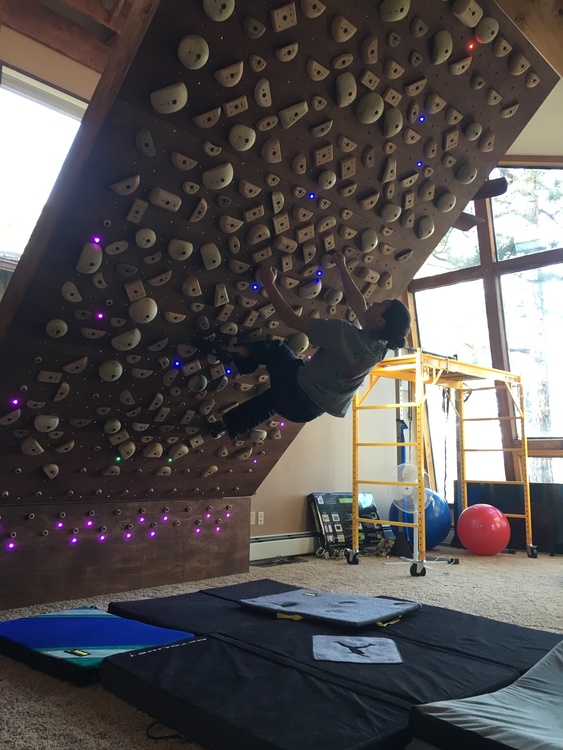 Merry Christmas! 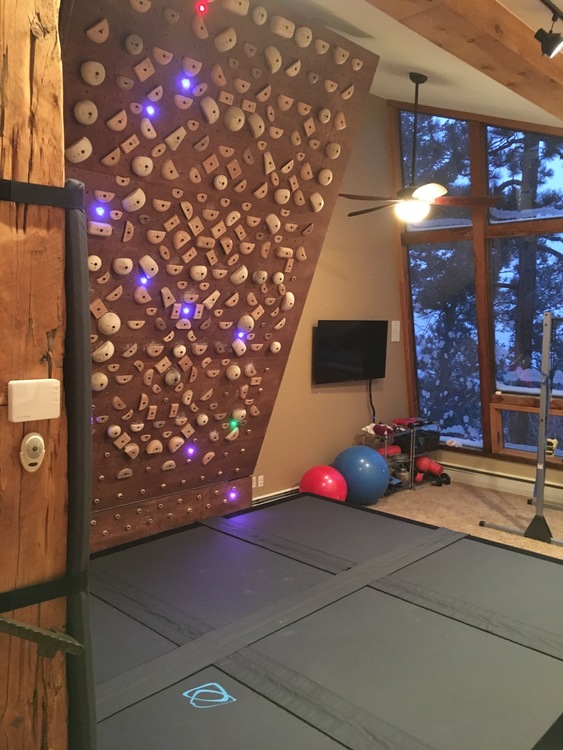 We’ve been really psyched with the board and the holds but like Eric K said, the ratings in the app are a bit misleading. I typically climb v7/8 in a few tries but have only sent one v6 and that took a lot of work. Not a big deal, just something to be aware of. The LED kit works great and wasn’t too terrible to install either aside from the threading that Owen referred to. I agree that the LEDs are mandatory. It took me about 7 hours to put all of the holds on the wall. With that being said though, the folks at Tension did a great job labeling all of the holds and the install was very straight forward — just tedious. We typically adjust our board once every session. We like to warm up at 20* the dependending on what we are feeling, we will adjust it from there. I really like climbing the problems at 20*, but that could be because I’m more of a route climber than a boulderer. The workouts I’ve had so far have left me sore for days! Specialty items: - Hoist - Hinge (free shipping) |
|
|
Monty, |
|
|
Eric K wrote: Monty, It’s hard to see in the picture, but the ceiling height is declining from 15.5’ to 12.3’. I’ve got a 24” kicker (12” for padding) and have just enough room. I’d say the 15’ would be the minimum height needed. |
|
|
Monty wrote: What did you use for your crash pad |
|
|
Brad Johnson wrote: We got our pads from Asana. They are a customized version of their drag-pads. Definitely the most expensive part of our home wall, but well worth it and they should last forever if properly maintained. The 12” padding is nice for climbing at 20* as it’s a pretty big fall from the top. The dimensions are 13’ x 11’ which gives 2.5’ on either side of the board. |
|
|
That is a great looking wall Monty. I would love to have a nice crash pad setup but it is just so expensive, so Craigslist mattresses and crash pads for me. |
|
|
 My first go at a crack machine, adjustable from about .75s to about 7" - made some additional mods this pic doesn't show, namely a few more carriage bolts to work around. It'll drop to the ground, I'd say around 50deg, or goes as a straight on roof crack. |
|
|
chris_vultaggio wrote: Looks cool, although I could picture a horizontal green Camalot splitter being on the challenging side! Do you have any trouble with the boards flexing? I feel like with any crack I've tried made from 2x lumber has flexed enough to make the jams much more difficult. |
|
|
  Current iteration...33 degrees overhanging, kicking my ass right now. Left is a #5, right is about tipped 2s-0.75 Camalots. |
|
|
Tanner Wilks wrote: Tom Hanks |
|
|
Optimistic wrote: I did at first! But I sunk a carriage bolt at the bottom of each end, plus one at about 4’ and 8’. You have to work around them but not a huge deal, and stopped all the flex completely. As for the off-fingers, I can ride the thing with sinker hands no prob, but for the more challenging sizes I’ve been surfing my bachar ladder with overhead hands to learn the jams. I can also use the carriage bolts as foot pegs (I may install a foot rail for heels). Next project is an 18’ tall dead vertical version in the stairwell at the back of the basement. Just gotta pad the concrete steps well.... |
|
|
What texture did you guys apply to the cracks? I left mine as smoothly sanded pine and can’t seem to get much purchase. |