
 Continue with onX Maps
 Sign in with Facebook


Installing glue-ins for the first time, any tips?
|
|
This weekend I'm replacing a couple bolts that have gone spinners on a route that I put up. I'm replacing the wedge bolts with glue-ins, and it will not be using the same holes (route was put up on lead and the position of the bolts will benefit from adjusting). I'm using BP twist bolts, and AC-100+. Any tips or pointers that would be helpful? I'm very familiar with the concepts of checking glue consistency, the gel time vs cure time, etc. More curious about the logistics of hanging on the rope and managing the glue/drips and such. Thanks! |
|
|
Some possibly obvious tips:
|
|
|
Checkout some of the previous of course. Get a high ratio chaulking gun. For newer BP 6mm twist ream the opening of the hole as you start. 1/2 " bit. Knock the bottom edge off of the hole so the radius on the bolt does not keep the hanger proud of the surface. Be pepared to tap the bolt in lightly if you do the above. Cut shop towells in quarters to manage the mess easy. 2 plastic bags for purge and trash. |

|
Once the glue mixture reaches the tip of the nozzle, don’t get excited and forget to purge 3 squeezes into your catch bag before you put any into the holes |
|
|
I put duct tape around the hole during the hole prep. Not critical but can keep the mess down. Better to overfill the hole, but that can lead to a mess.YMMV |
|
|
Hi Ian, The shaft on BP twist legs is inclined-relative-to-the-eye, so recommend you drill, not at 90 degrees, but slightly inclined to ensure the eye sits flat against the rock surface. Cheers |
|
|
All good advice, just clean the heck out of the holes so the glue sticks to rock, not dust. Also, you can buy a plastic mallet instead of a stainless hammer, much cheaper. A regular hammer will cause rust to form on stainless bolts. Once you go to glue ins you'll never look back. |
|
|
Francis Haden wrote: This is incorrect. Always drill 90* to the face, you just have to hit the bolts down with a rubber mallet so that they push past the friction fit that was designed into the bolt. If you start drilling at odd angles youre going to cause yourself some potential problems. The back sits flat with just a couple of light hammer blows. |
|
|
The angle of the back of the eye varies depending on loads of factors when they are made, on the other hand the rock is often uneven and drilling at exactly 90° swinging on a rope and hanging on with one hand isn't exactly easy! Nobody has actually ever raised the subject since I've been in business and I follow the adjust with the hammer if required school of thought personally, the bolt will adjust with the first whipper anyway. Opening the start of the hole when using a 1/2" drill bit is defeating the idea of making USA specific bolts. |
|
|
Jim Titt wrote: Yes Jim i probably should have made myself more clear. I ream only a few millimeter to avoid the ovalness that often happens with a had hitting rotary hammer. I do that for any bolt. Especially 5 piece bolts. |
|
|
RRR wrote: Having just sifted through a hundred pieces of GP6-80-12A4 twist-leg glue-ins, the typical value measured from those selected (with a protractor) of the eye-relative-to-the-shaft is 10 degrees. Drilling perpendicular to the rock will lift the eye away from the face (assuming it is relatively flat) to some extent and again, depending on the placement, could create a rope trap. I was contacted by email this morning regarding an area where this has become an issue (angled out eyes) *EDIT* image added below.  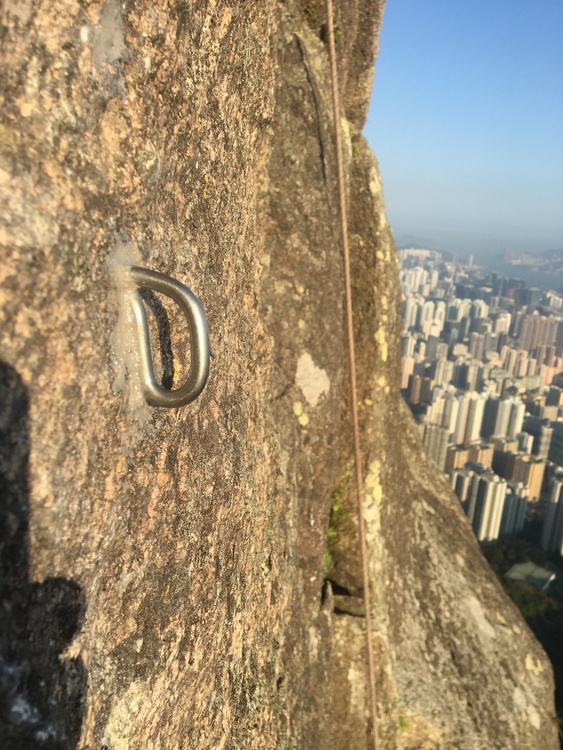 A local customer made a small jig to check the inclined angle before drilling as he was new to installing twist leg glue-ins. Worked ok for him I gather! |
|
|
It's not the biggest challenge in my life to change the angle if that's what people want! As I said nobody has ever mentioned it before. |
|
|
The install went off without a hitch, thanks for the tips! |
|
|
Francis Haden wrote: I've put in loads of these, and I've never had a single one sit off the wall. I hit them in with a hard rubber mallet several times, and they wind up sitting perfectly flush. You can't twist/push them all the way in by hand anyways, so not sure why id want to carry a jig around to check the angle when you'll be hitting them a few times anyways. To each their own. |
|
|
RRR wrote: The shaft is inclined relative to the eye, it's an observation and one that can be easily measured. Depending on the rock type, sometimes twist legs can be pushed in almost to the point they only need a light tap to sit flush. You choose to drill perpendicular and hammer the eye down if need be so it sits flush. I choose to drill slightly inclined and not hit the eye downwards, so agreed, each to their own. The jig reference was n't about you. The customer, being new to twist leg glue-ins, was happy enough to take their installs slowly, use a jig and achieve accurate drilling. |


