Continue with onX Maps
 Sign in with Facebook


Repair the damaged sheath on your climbing rope


|
|
phylp phylpwrote: Got any pics? |


|
  |
|
|
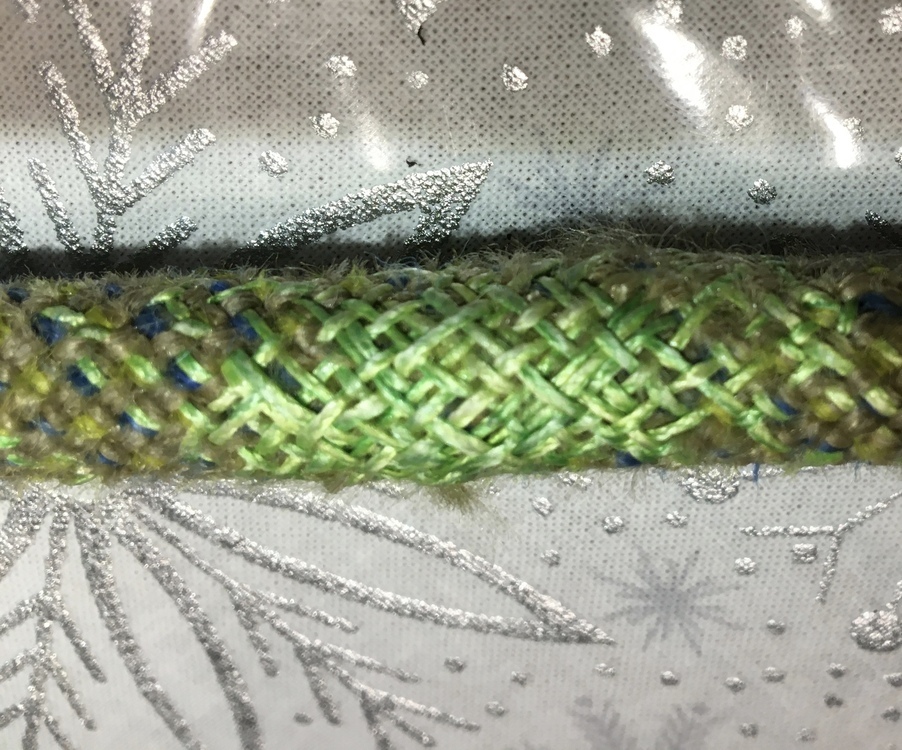
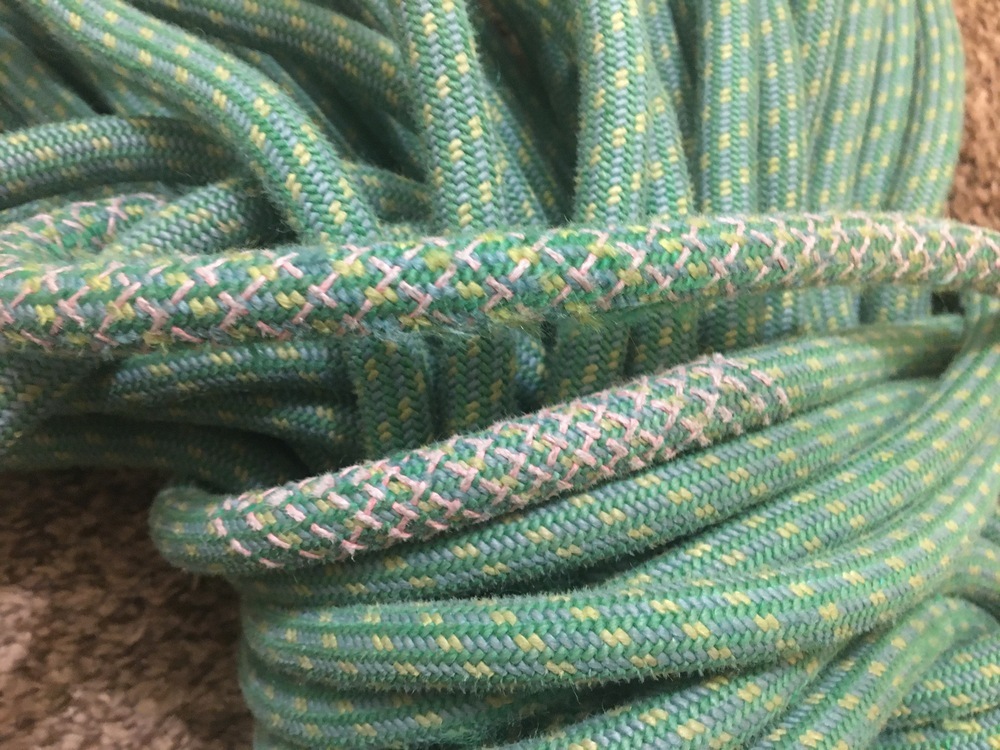
 Btw, can you even make out the two original marks downphoto from my weave? I often find it the case, when I run a new rope through, that the marking is offset from the real middle. I put the weave at the real middle. |
|
|
Hmmm I'm no structural engineer or textile professional, but I sew a lot ( have a good amount of experience with fibers and fabrics) and am a lifelong angler and I fish offshore in the ocean a lot. If a person has dyneema (spectra) fishing line and it is taught, it cuts through stuff like butter. If one person is hooked to a fish with monofilament (regular fishing line) and another with dyneema (spectra)- we call it braid- and they touch while they're both under tension, the braided line will cut the mono instantly, even if they're the same weight (strength). It slices into skin and flesh no problem, I have sliced my pinky finger to the bone by tightening a knot with too thin of braided line. Not sure how to factor any of that into this discussion, just saying that in my experience, dyneema thread or line can and will cut other materials very easily. It doesn't stretch(give) at all. |
|
|
phylp phylpwrote: Same. Works great though I have to warn new partners who otherwise think that there's something wrong with my rope. |
|
|
You guys are making me feel so much more confident in my ropes |
|
|
Beats duct tape! |
|
|
Desert Rock Sportswrote: Spectra (Dymeena) thread doesn't appear to "cut" nylon webbing that I have seen on draws and such. (Some types of dental floss are pretty strong) |
|
|
Jordan Daywrote: Sketchy but fair. Ride on! |
|
|
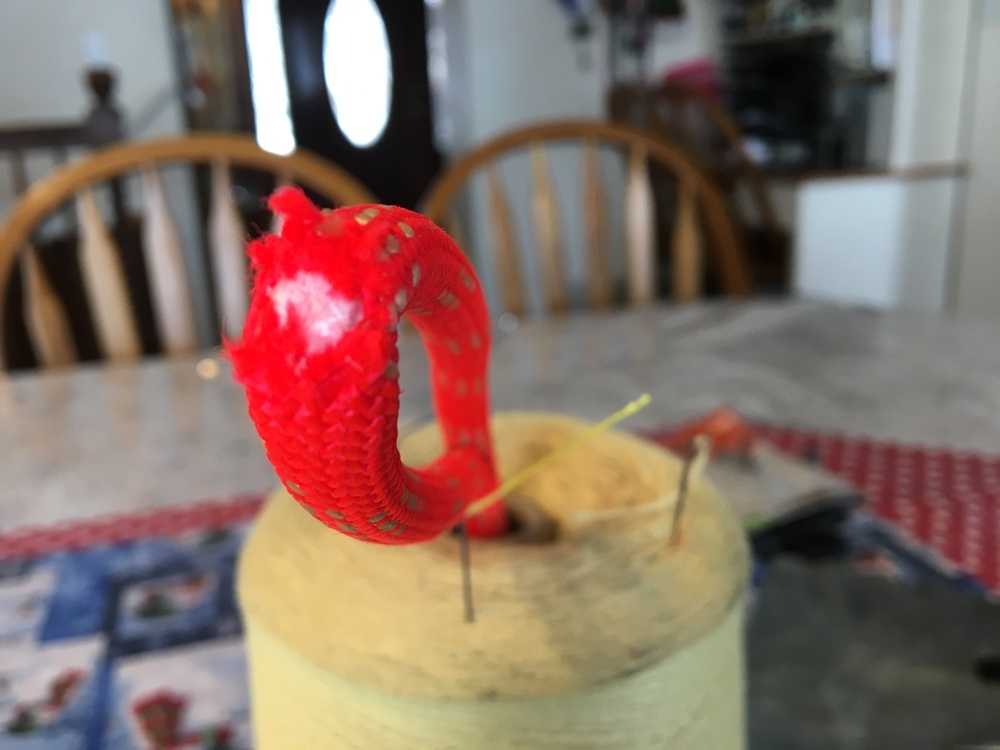
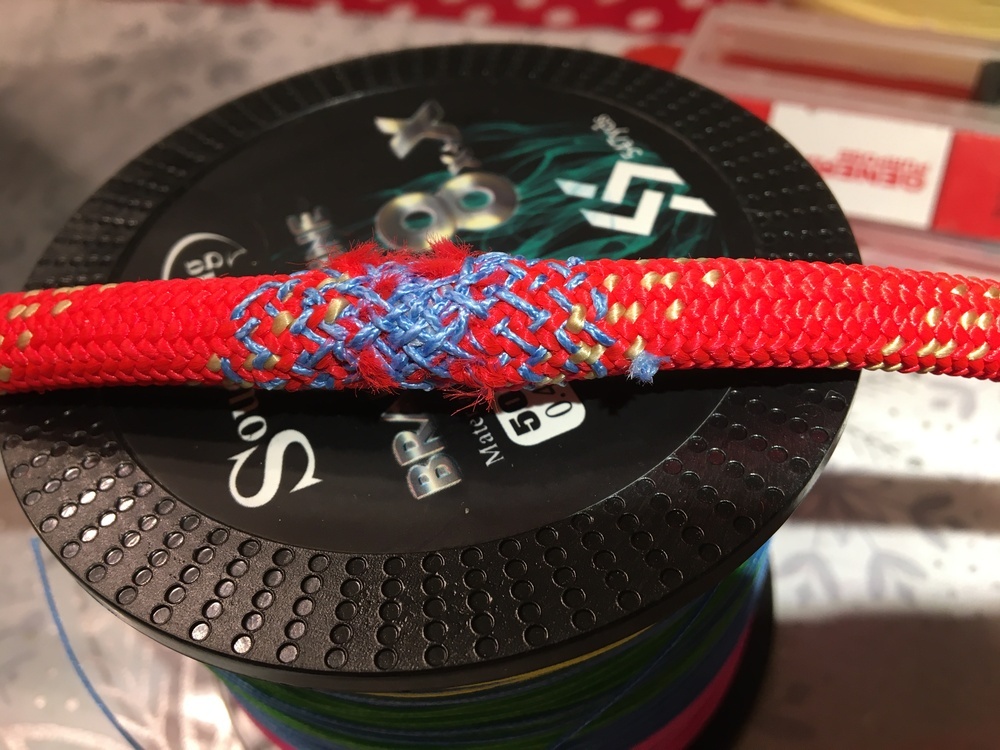
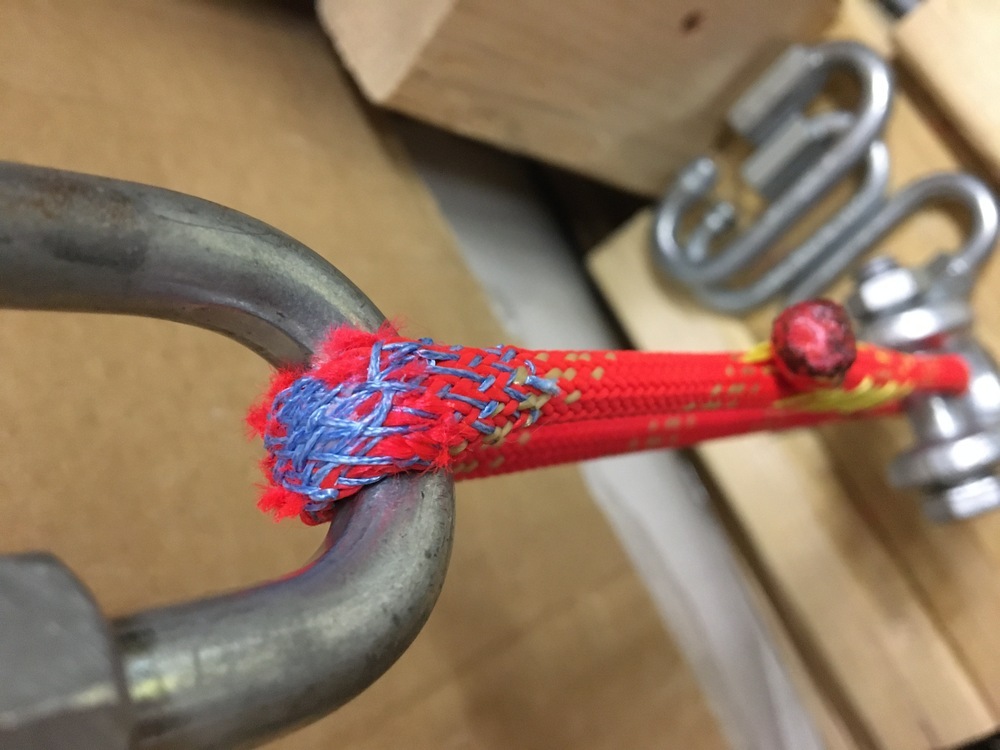
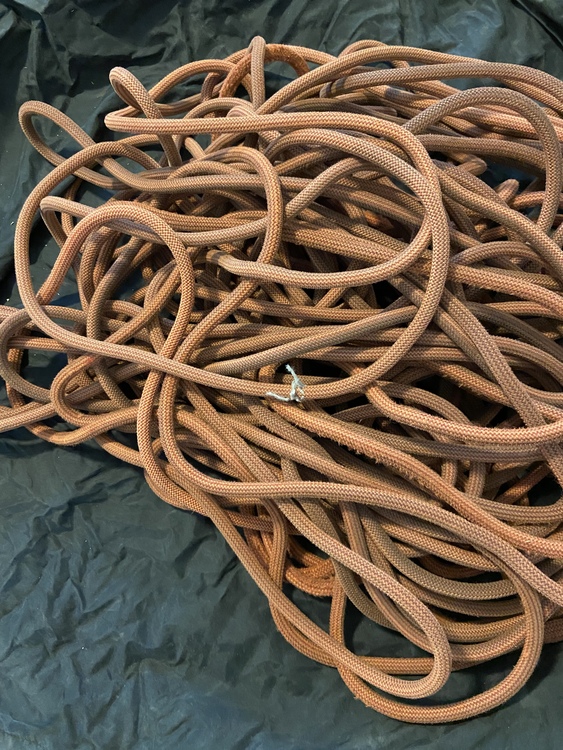
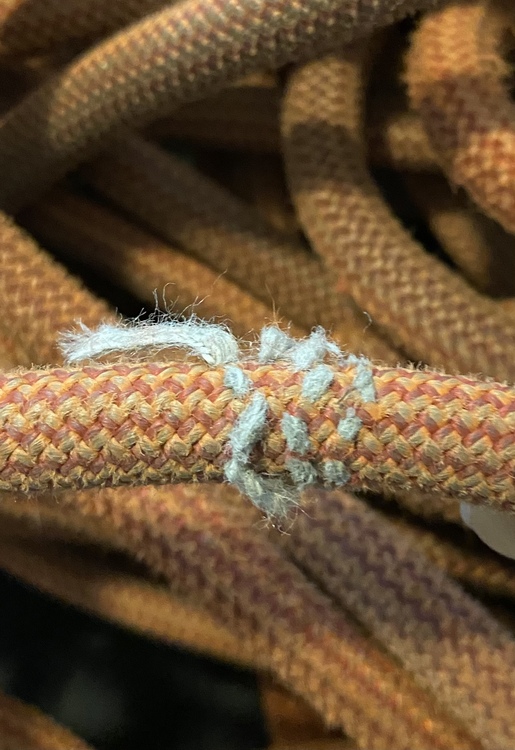
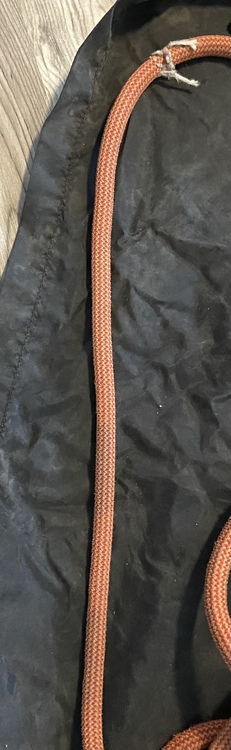
Mikey Schaeferwrote: I don't think there is anything I could show that anyone couldn't learn from just copying the photos(don't sew through the core) and spending a few hours working on old ropes. Remember my conclusion was that this type of repair is unlikely to either strengthen or weaken the rope. My past experiences suggest that a very heavy repair, with equal tension in the repair threads would be necessary to strengthen the rope at all. This repair would have to encircle the whole rope and be even all the way around. It would also have to be as strong as the original sheath. I have tried those type of repairs, they feel impossible to do. They just cause a big fat stiff lump in the rope that is unworkable for rappelling or belaying. The repairs on the two green ropes simply protect them from further damage. I suggest only repairing ropes with light sheath damage - no core damage. |
|
|
Very interesting update! |
|
|
phylp phylpwrote: My very first rope was from Chouinard Equipment and did not have a middle mark. (Actually, my first rope was a Goldline.) I wrote a letter to Chouinard Equipment asking for advice for a middle mark. I received a handwritten reply from Yvon himself that recommends this. He also recommended similar marks 20 feet from each end so you know how much rope is left. It's important to be clear that this repair is ONLY for sheath damage! |