
 Continue with onX Maps
 Sign in with Facebook


Tomahawks vs. Peckers?
|
|
I've been wanting to get into hammer aid, and I've been reading some of the previous threads regarding various typs of beaks (mostly tomahawks and peckers): https://www.mountainproject.com/forum/topic/116742788/best-beaks-tomahawks-or-peckers https://www.mountainproject.com/forum/topic/119513373/camp-iron-hawk And I'm wondering if there are any significant differences in use between the two besides the stronger wire on the tomahawks and the lack of top hole on the #1 pecker? How do they compare if the peckers are re-swaged and a hole drilled in the #1? I'm also curious about the modifications some people do to the peckers (reswaging with stronger cable and drilling the head of the #1):
Also wondering what number of beaks you think would make for a good starter rack? (I know it depends on the route, just hoping for some kind of ball-park number.) I was thinking maybe four or five of each size? Thanks in advance for any advice. |

|
Get the BD Peckers and find someone to swege stronger wire on them (Skot Richards) and racking slings. The Tomahawks are beautiful and well made but the #3 is ridiculously large and heavy. You’d be set for awhile with three of each. 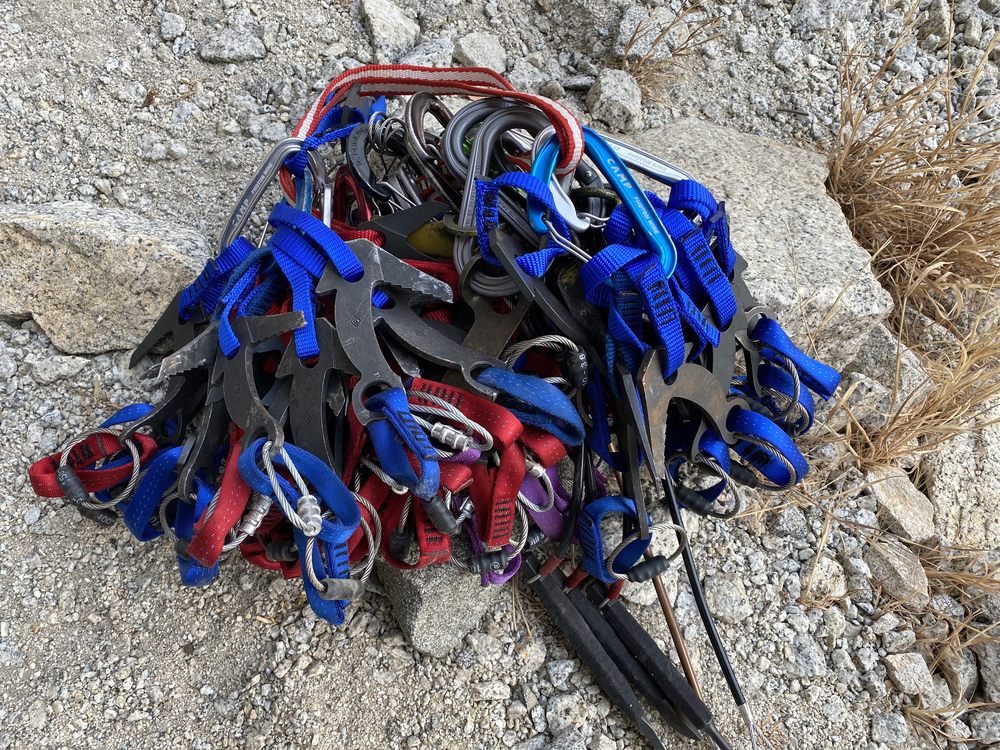 A thing of beauty! |

|
I like the Tomahawks enough that my BD Peckers seldom see much use any more. The big advantage is that the Tomahawks come in three versions, standard, one for right-facing corners, one for left-fqcing corners. In dihedrals, using a straight beak, the head gets scrunched up against the rock and is hard to hit and I end up missing with my hammer and this scars the rock more and mushrooms the head of the pecker. And that beefy new cable that you paid Skot for gets crushed against the rock and strands of wire break off of it. And for cleaning, once you yard on the funkness attached to the cleaning cable/cleaning sling that sling breaks too because it also was ground against the rock during placement. |
|
|
It depends.
So I rack mostly peckers unless I know there's going to be a majority of right or left facing corners, in which case i'll bring the tomahawks made for the type of corners I'll be dealing with. (and always rack only peckers in the #1 sizes) |
|
|
I think that Tomahawks have a more secure hooking action due to their geometry. I used them for a new route on desert mud, and I could not get Peckers to hold in any of the placements. I was tapping them into a seam until they created a divot, then basically hooking on that. I imagine in scenarios where the whole blade is slotted into a crack that difference is less noticeable. |
|
|
The curve in the tomahawk can be helpful depending upon the geometry of the rock around the placement, but in terms of their ability to be secure in a shallow beak tip placement as mentioned above, I have not seen a significant difference between the two (rock geometry outlier instances excepted) and my routes tend to be many many #1 beak tip placements. |
|
|
Do you like one vs the other for hand placing? Tomahawks, just because you aren't carrying more than one or two in that case? Have you noticed any "cam hook" action in hand placements with the R/L Tomahawks? Edit to add: I just pulled out my beaks, and I think the difference was that Peckers have a lot of weight in the back of the head, and are short, making them laterally unstable in the placements I was using. Tomahawks are longer, with their center of mass closer to the rock, which made them feel more stable. The placements all cleaned by hand. I think once you are get reasonable friction/engagement in the placement, like in a granite seam that doesn't bottom, the difference is not an issue. |
|
|
J Cwrote: Tomahawks for handplacing simply because they're slightly better in more placements due to their shape I haven't "noticed" it, but I assume there's some based upon their twisted tail changing the angle of downward force away from the rock face when you weight them |
|
|
Thanks for the input everyone; I was mostly wondering as the only European store carrying Tomahawks haven't had any in stock for months, whereas peckers were quite readily available. I've ordered 4 peckers of each size now. Unfortunately I live pretty much on the other side of the earth from Skot, so I'll have to solve the swaging issue locally. The only local place I found that could do it was a boating store that wanted 100$ for 12 3mm swages or 140$ for 12 4mm swages; I can get an ARM HSC-600 hand swager for 100$, so I'll probably get that and swage them myself; and then I'll be able to make some heads and rivet hangers as well. Kevin, I've read that you reswage your peckers and drill the head of the #1, any beta to share on this? |
|
|
Erik Cwrote: Those are outrageous prices for swages, I could send you some for way cheaper than that... We use 1/8” stainless cable and size M swages. If you want ill ship you some materials..... I drill the head of #1 peckers with a 3/16” drill bit and then chamfer the edges with a round off mill bit. I then use 550 Para cord or 3mm cordlette to make racking loops. Hope this helps!!!!! |
|
|
Erik Cwrote: If you're reswaging them yourself, each loop is 6" of ⅛" 7x19 cable with an oval ⅛" copper swage. In a pinch on the walls, if the swage gets mangled (it eventually will) you can use a shorty length of sewn webbing or dyneema girth-hitched or basketed through the bottom hole as your clip in point. Drilling the head of the #1 pecker is straightforward. I use p-cord for my clip in loops (with the expectation that they'll get mangled during use so i'll also bring additional p-cord on the route to replace the clip in loops as they mangle, I like to also make the loops a bit long, allowing you to isolate any parts that are tearing before needing to replace) so i use a drill bit that's going to be just large enough for the p-cord to get through. I'm not a fan of the larger/thicker webbing loops for the clip in point because I want there to be no resistance in tight corner placements and feel like thicker sewn webbing can lever out a thin tight and shallow corner placement whereas p-cord will flatten or rip in such placements effectively getting out of the way. |
|
|
Skot Richardswrote: Sorry, I may have phrased that poorly. Those prices are for materials and labour, and they also include thimbles (which you usually want for boat rigging). I've found a place where I can get the materials much cheaper, so that isn't a problem; thanks for the offer though. Thanks a lot for the info on cable and hole size! Edit: Also thanks to Kevin for the detailed swage and drill beta! |
|
|
Variety is the "Spice of Life". I like having many different options available. Sometimes in AID Climbing you are looking for that magical key to solve the problem. I will tell you to always keep your eyes open to people selling or getting rid of AID Gear. Back in the day, we would modify stuff and even create stuff in our own shops to "Solve" the problem of the time. Keep your eyes out for: 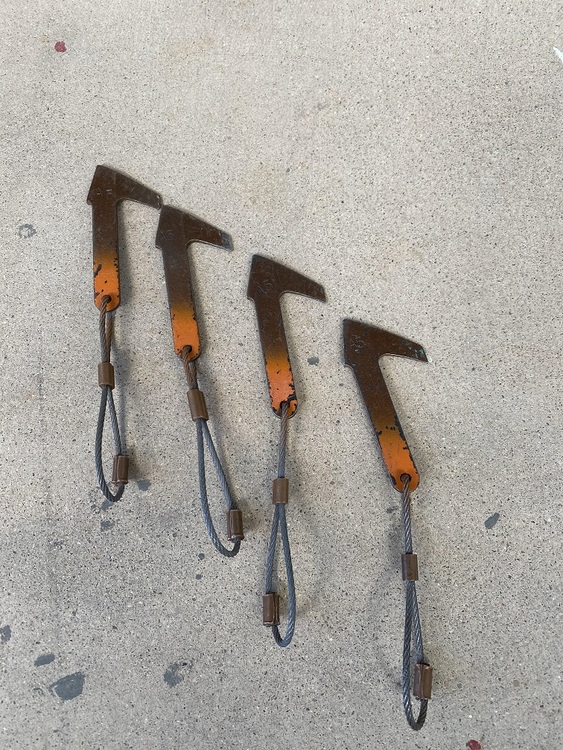 A5 Birdbeaks 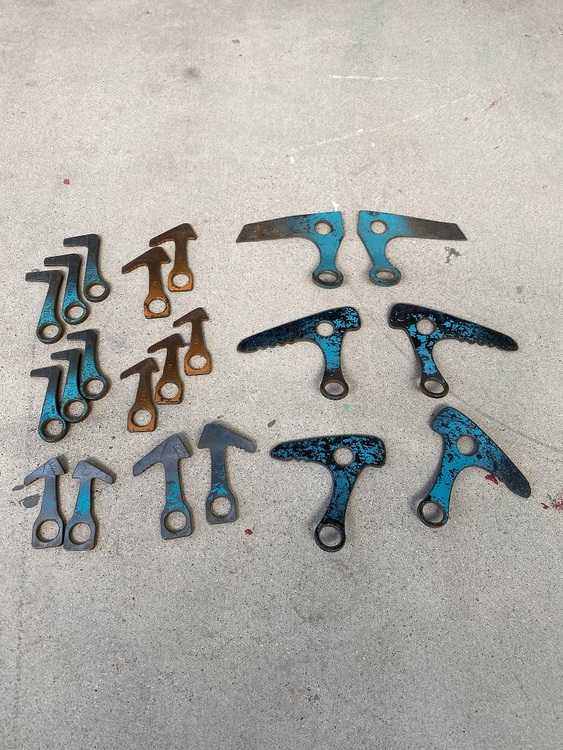 PIKA, Mallards, Auk's and Toucans 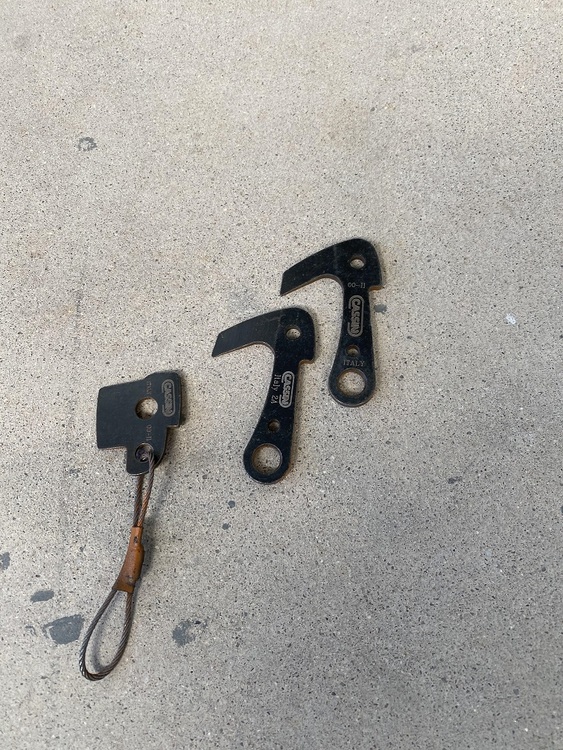 CASSIN Beaks  Chouinard Crack-N-Up's |


