[Hide Photo] The eastern and lowest side of Tyrolean Tower. No Way Down is unnamed #3 in Swartling/Mayer.
[Hide Photo] The southeast side of Tyrolean Tower. The numbers correspond to the unnamed routes in Swartling/Mayer.
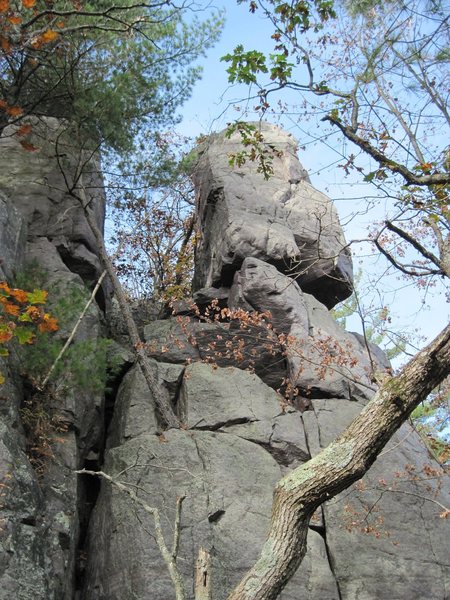
[Hide Photo] The west side of the summit block. On the right is the gap between the summit block and the main wall. On the left, a portion of the snow covered north platform is visible between the scraggly t…
[Hide Photo] The north side of the summit block with the snow covered north platform clearly visible.
[Hide Photo] The southeast side of Tyrolean Tower. The numbers correspond to the unnamed routes in Swartling/Mayer.
[Hide Photo] Here is a pic of the hanging belay for T Tower. Probably the best spot to belay. There is a small ledge to stand on to set it up. There's a tree that leans against the tower that can be girth hitched.
[Hide Photo] This is the face to the left of the tower. "Last Crack" 5.10c is the thin crack on the left side. The diagonal crack to the right is "Lone Pine Diagonal" 5.8. The right side of the face is "Right E…
[Hide Comment] To get off this tower lower your second down to the north platform and then use them as an anchor to rap off the opposite side. String the rope through an old piton with a new quick-link so ensure the rope doesn't slide off.
The top anchor is VERY sketchy. I strung together 4 small wires on the south side and girth hitched a dead tree leaning against the towers back side. Good luck!
Apr 9, 2011


 Continue with onX Maps
 Sign in with Facebook


The top anchor is VERY sketchy. I strung together 4 small wires on the south side and girth hitched a dead tree leaning against the towers back side. Good luck! Apr 9, 2011