
 Continue with onX Maps
 Continue with Facebook


Brewer Buttress

5.7 YDS 5a French 15 Ewbanks V+ UIAA 13 ZA MVS 4b British PG13

 Avg: 3.5 from 33
votes
Avg: 3.5 from 33
votes
Routes in Castle Mountain
|
|
Brewer Buttress T 5.7 5a 15 V+ 13 MVS 4b PG13 |
|
|
Lookout Buttress T 5.10a 6a 18 VI+ 18 E1 5a |
|
|
Moat, The S 5.11c 6c+ 24 VIII- 24 E4 6a |
|
|
Silverton Falls WI3 |
|
|
South East Face of Eisenhower Tower T 5.6 4c 14 V 12 S 4b |
|
|
Ultra-Brewers T 5.9 5c 17 VI 17 HVS 5a |
| Type: | Trad, Alpine, 13 pitches, Grade II |
| FA: | Dave Brewer & Lyle Irwin 1961 |
| Page Views: | 18,131 total · 91/month |
| Shared By: | Hans Bauck on Dec 2, 2007 · Updates |
| Admins: | Dave Rone, Tom Jones, Richard Rose |

Description
Pitches are described as per the topo given below.

P1: 40m, easy fifth. Follow broken rock up and left. In my opinion this was the only bad pitch on the route.
P2: 30m, 5.5. Continue to a belay on a large ledge on top of the pedastal.

P3-4: 55m, easy fifth. Follow a break up and right past a station to a belay on top of a small ledge. These pitches are typically linked.

P5: 35m, 5.5. Climb up a broken wall to a good ledge and a belay anchor. Continue left along the ledge around the corner and belay there.

P6: 30m, easy fifth. Climb up and right to belay at the base of a left facing corner. Belay here or link with pitch 7.

P7: 25m, 5.6. Climb to the top of the corner and move right to the belay.


P8: 25m, 5.5. Climb another left facing corner to a ledge.
P9: 40m, 5.7. Climb a right facing corner over a bulge. Continue up the corner to a belay.

P10: 20m, fourth class. Climb easily up a slab by wall to a belay at the base of a steeper wall. This pitch can be linked with the previous one.
P11: 35m, 5.6. Climb up through a steep section then more easily to belay at a good ledge.
P12: 40m, 5.6. Climb up a corner then move right onto a steep wall that leads to the top of the cliff. Finding an anchor at the top of this pitch is difficult, as is hearing your partner.

Alternate finish:
P12-13: 35m, 15m. Follow the corner to a belay, then climb the short wall above to the top of the cliff.
Approach and Descent
Either approach to the upper cliffs is viable for Brewer Buttress. Though the hut approach is probably quicker overall, I find the Rockbound Lake approach to be more enjoyable. See the Castle Mountain page for details on both of these approaches.
The Hut approach
Brewer Buttress is visible from the hut as the last buttress before the Eisenhower Tower.

From the hut on Goat Plateau, follow the trail east along the base of the cliff until you reach a bay on the right side of the buttress. A belay bolt marks the start of the route.
The Rockbound Lake approach
Alternatively take the Rockbound Lake approach to Eisenhower Tower and from there follow the trail along Goat plateau from right to left to reach the start of the route.


To get down, walk WAY west to reach a large low angle scree gully. The walk is likely farther than you will think. The correct gully is typically marked with a large cairn or multiple cairns. Descend a loose trail until the gully narrows, where the first rappel anchor is found to skiers right.

A mix of climbing and single rope rappels leads to the base of the gully and Goat plateau. A single 60m rope is sufficient.

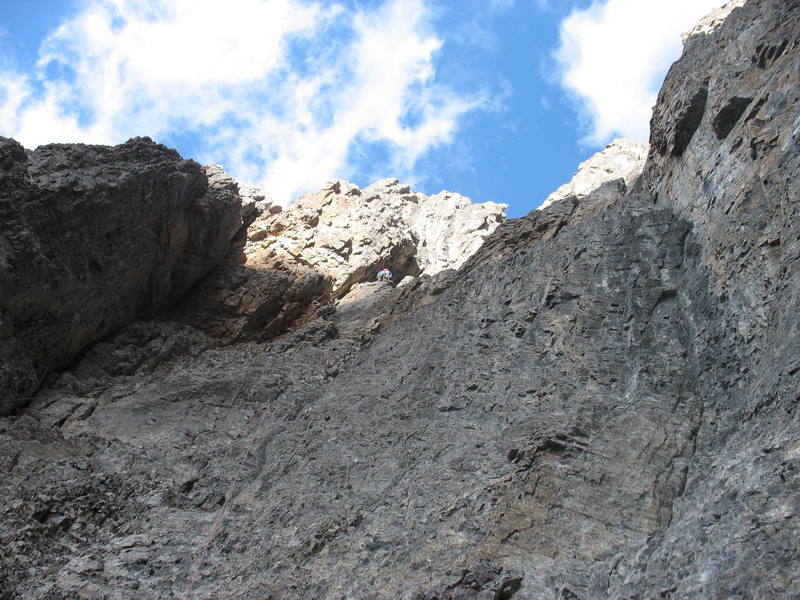
Photos


6 Comments