Continue with onX Maps
 Continue with Facebook


What does your Woody look like??? 2.0


|
|
Nice to know about the hoist and chains. With the limited angle change that I was able to set up, I felt like the jacks were the way to go for me, cheaper than a hoist at least. Maybe if I was able to set up a 20-50 degree variable wall that would be the ticket. |


|
I wonder if the tongue jacks would reduce wind motion for an outdoor installation... |
|
|
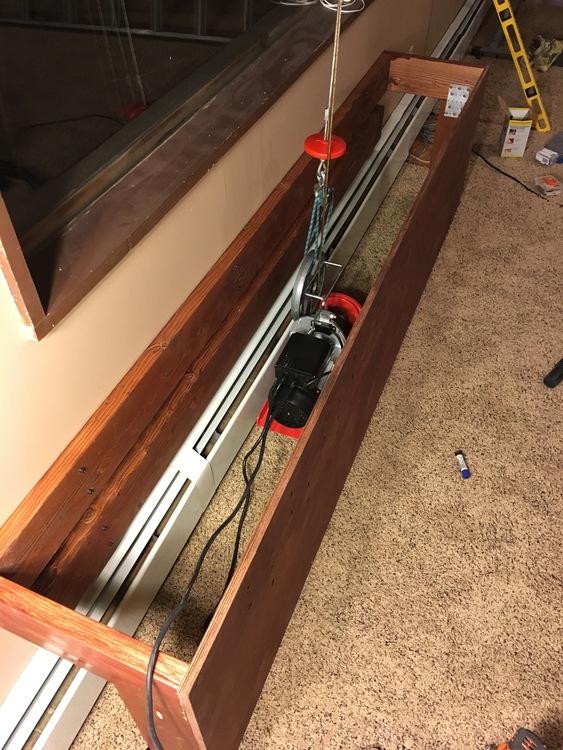
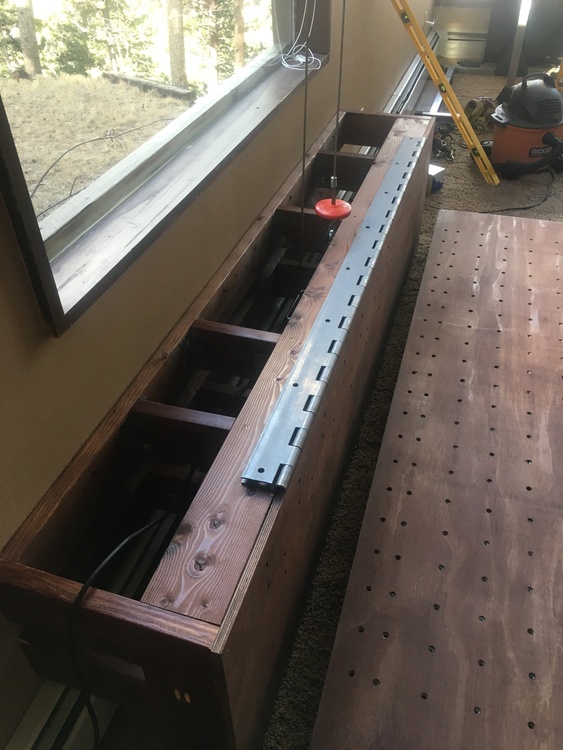
Monty wrote: Here’s another Tension Board for the thread. Mine is fully adjustable from 20* to 50*. We got our pads from Asana which are 12” thick. Much like Greg Koeppen’s adjustable setup, I used a 2100 lb hoist but mounted it to the ground and used a pulley to adjust the board. Once adjusted, the board rests on chains. We contemplated climbing on the hoist, but I was always a bit uneasy about that. The room I built the board in has concrete under the carpet so I bolted the hoist to the ground with 1/2” by 7” expansion bolts. The ladders allow you to adjust the length of the chains. For one person to adjust the board’s angle from 20-45* takes about 2 minutes. What’s the minimum strength you could use for a hoist? |
|
|
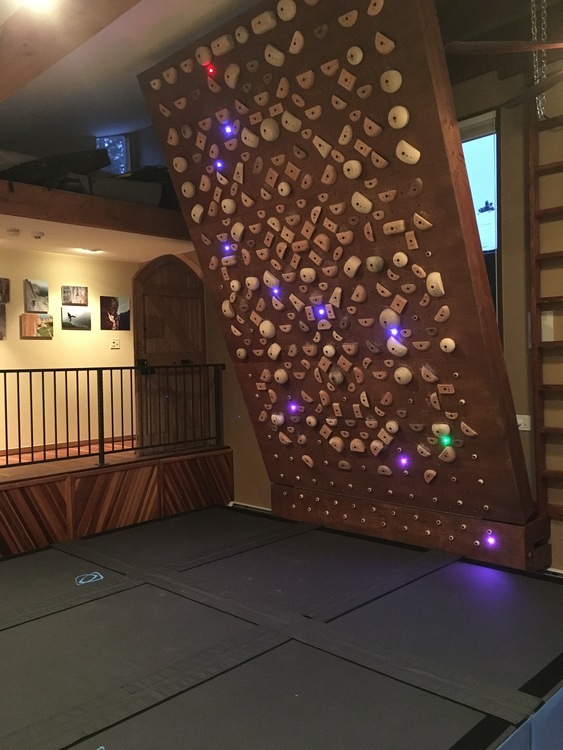
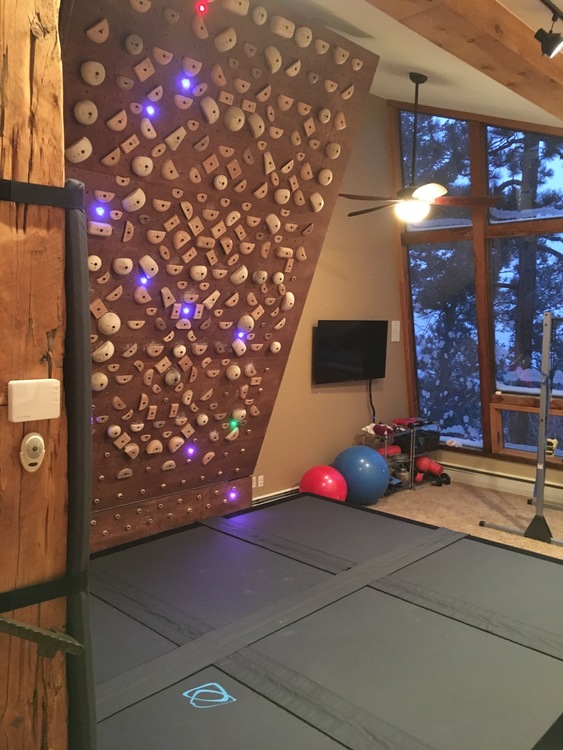
With a moonboard I do not feel that the leds are necessary, but they could be on the higher hold density boards. It is pretty easy to memorize the climb on a moonboard after some exposure to it. |
|
|
Thanks Greg. I've been in contact with a gal who recently did a similar build but they made it so the chains adjust at the base of the kicker. It was a pretty slick build and completely alleviates the need for the ladders. Seth Bleazard wrote:You could probably get away with a 800lb hoist, but the cost difference between an 800lb hoist and a 1300lb hoist is pretty minimal. I always error on the side of over doing things, but that is just me. |
|
|
 |
|
|
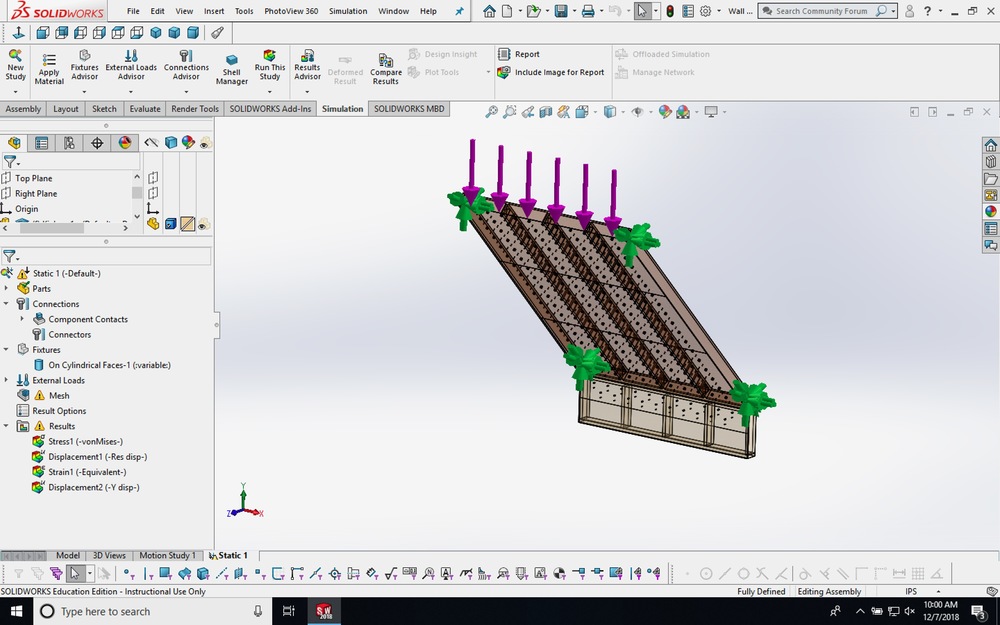
Are people using 24oc or 16oc framing for their boards? 24oc too flexy with 3/4" plywood? |
|
|
Optimistic wrote: Are people using 24oc or 16oc framing for their boards? 24oc too flexy with 3/4" plywood? I usually do 16 because I match the wall behind what I’m building and screw into the studs. My builds were both very dependent on the preexisting structure and shape where I built. The first one was in a stairwell so there was a lot of weird angles and I over did my bracing and anchoring a bit. I never had any problems and everything was very rigid. |
|
|
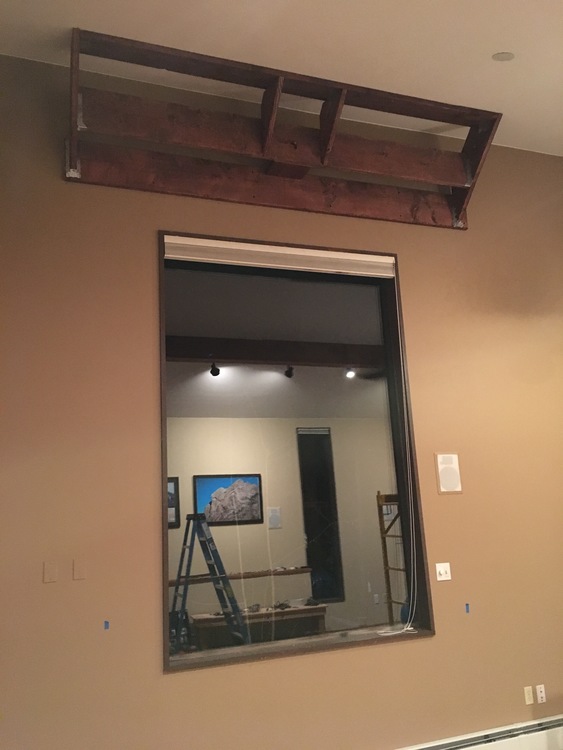
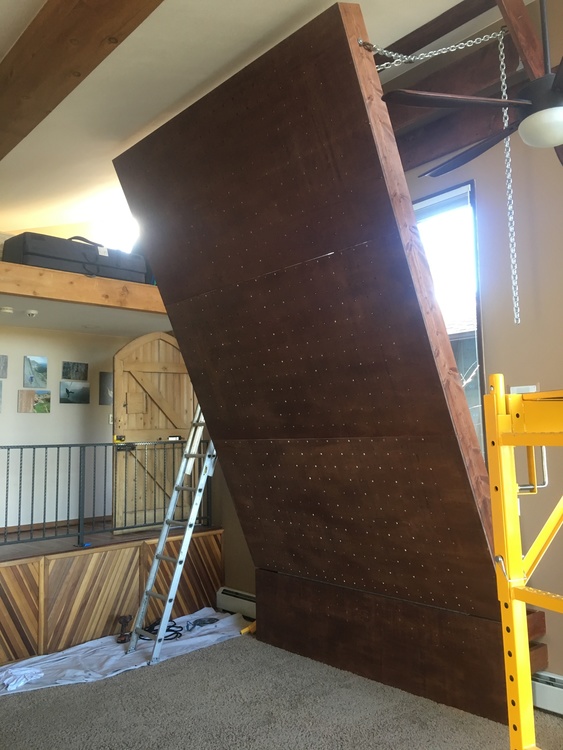
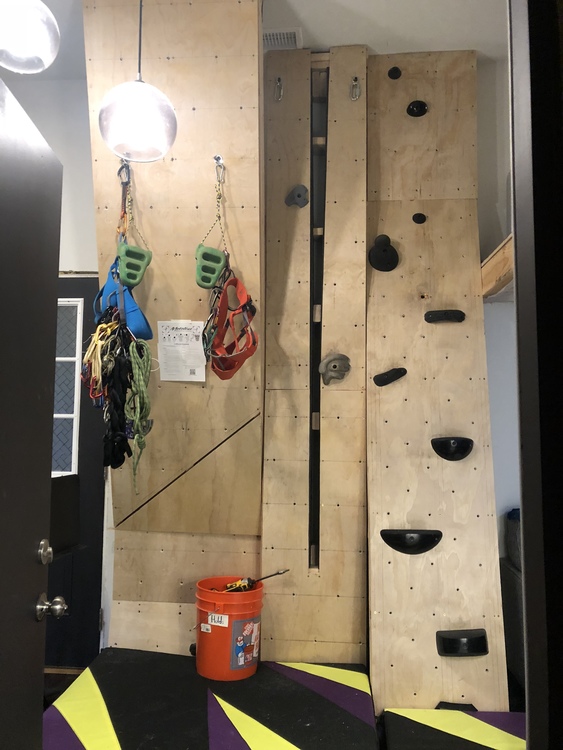
This was out previous wall. It was mostly vertical to avoid blocking the stairs. Was originally going to make the upper section vertical but realized I had room to make the overhang and could avoid high falls by following the angle of the stairway roughly. So I ended up building the braces for the overhang kind of weird. And I left a gap so I could continue the vertical wall straight up and build a tight chimney on that side. I was also going to continue the diagonal/vertical section of the wall up two more pannels to give more length to the wall over all. But we moved so this is as far as I got. 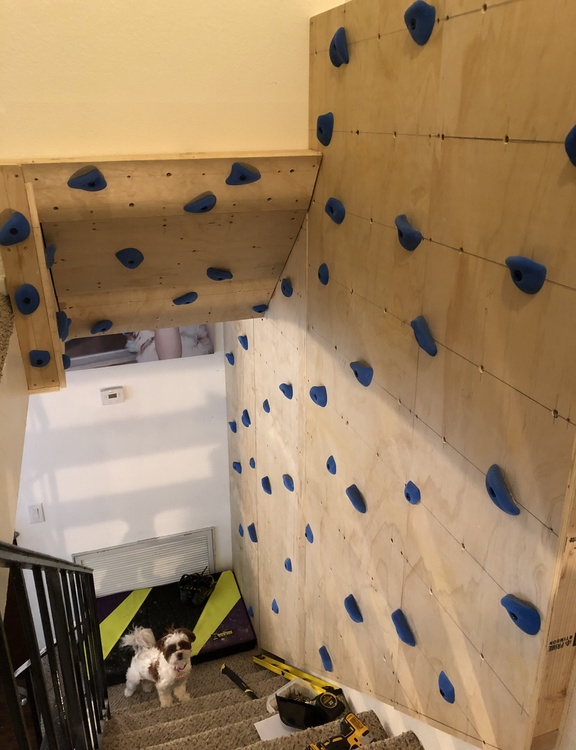 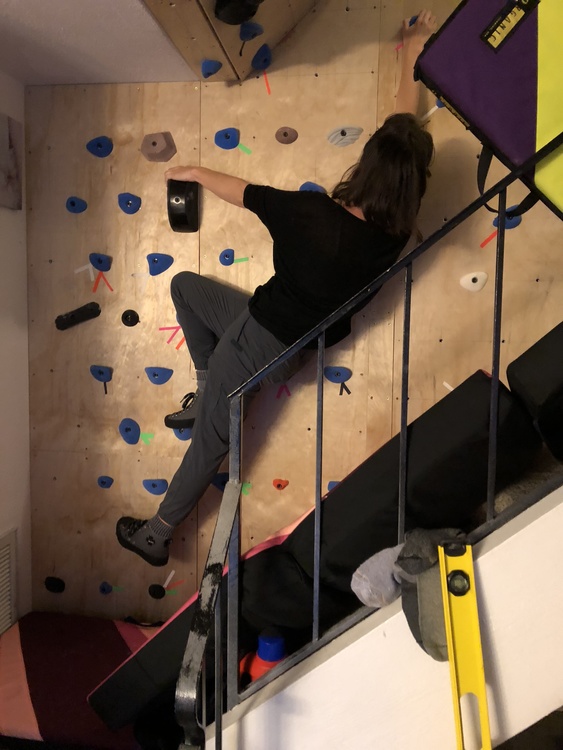 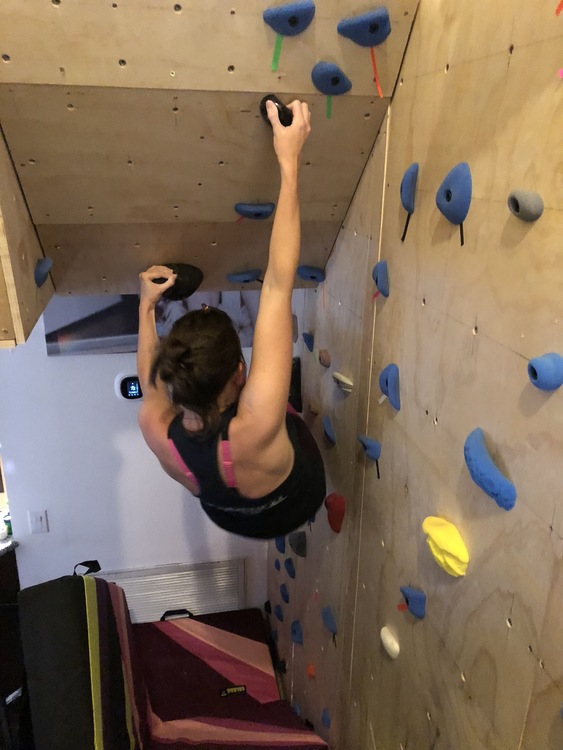 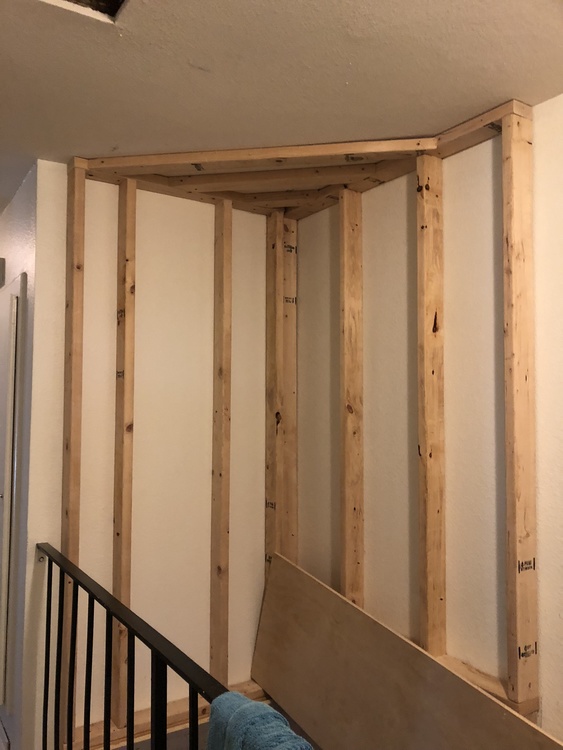 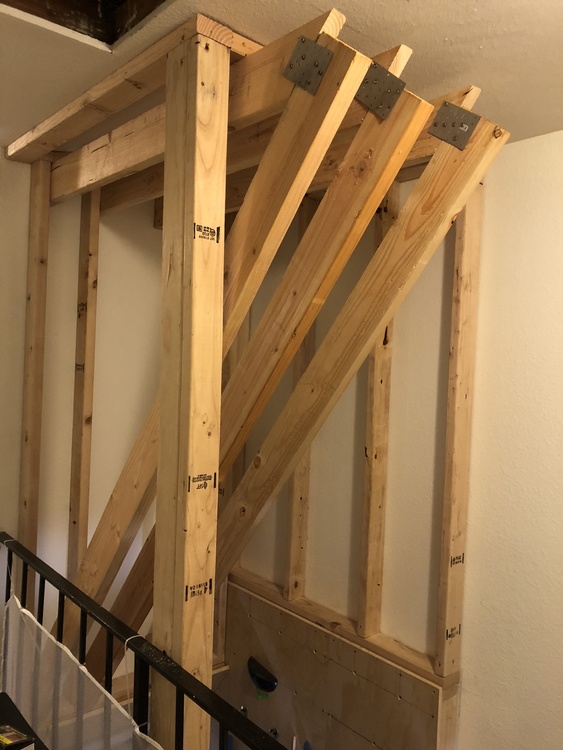 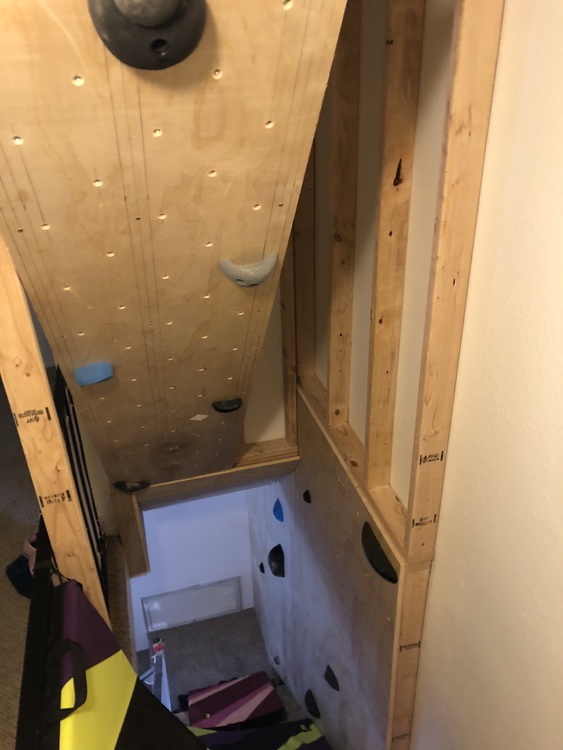 The rafters above the over hang didn’t seems super sturdy so I made an L shaped beam there to help make them a little more rigid. Was kind of an after thought though so it was a little ghetto and I just screwed stuff together with mending plates and angle brackets. But it worked, it held us up no problem and didn’t have any flex. The spacing of the studs ended up a little haphazard because I matched the wall behind them but then had to adjust the outer ones for my wall’s dimensions. So I ended up with a lot of weird spacing.. |
|
|
Wow that looks like it could make for some exciting landings! Good looking wall though! |
|
|
Slightly to the left, hbu? |
|
|
Im Sorry wrote: Slightly to the left, hbu? Yep, that's what I was thinking. Did you already do that, and if so, what shift did you use? I was thinking of having the first holds 15cm from the edge instead of 20cm |
|
|
Also, I saw a cool setup of a Tension board (but could be used for any adjustable board) at Central Rock Gym in Cambridge. The pics might be a little hard to interpret, but the board is right against the wall so I couldn't get everything in one picture. 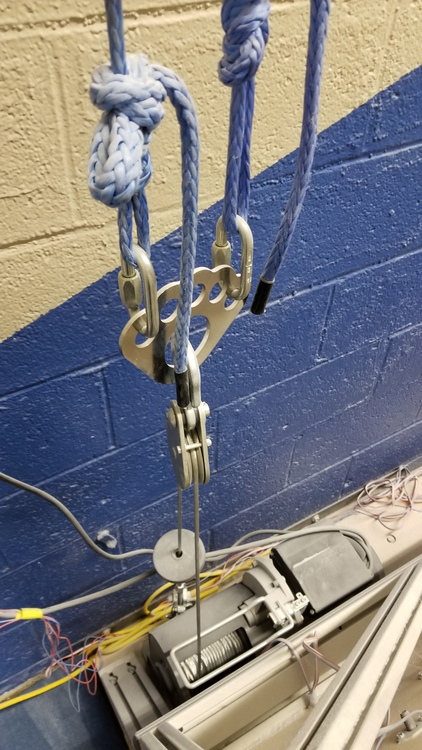 Left hand line leads to top left corner of board, right hand line leads to pulley at right end of the top anchor beam, and from there to top right corner of the board 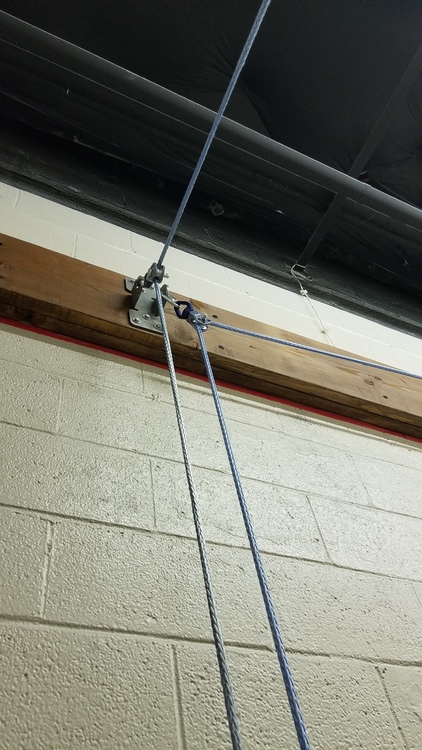 Right anchor pulley. I think that loop of line might be in case of hoist failure, or just to help rigging the board. Note doubled 2x12 (I think) strut from beam to floor. 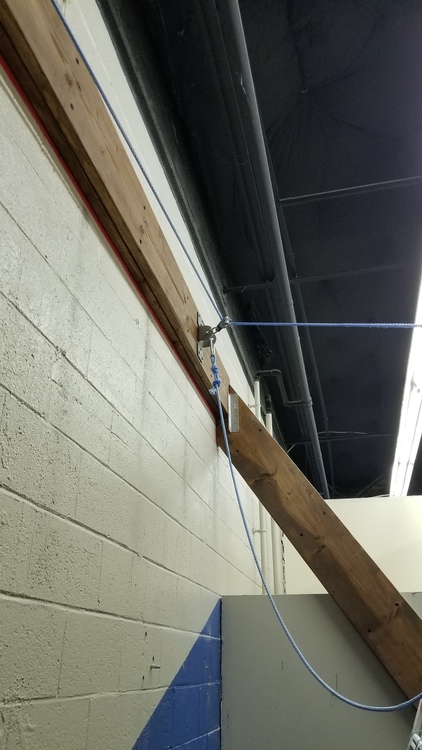 Beefy plates anchoring the lines near each top corner 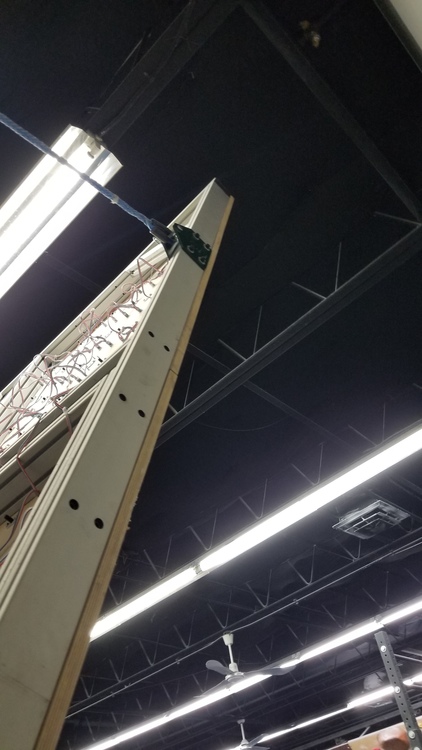 Pretty awesome setup, could be adjusted from 20-40 degrees in about 5 seconds. |
|
|
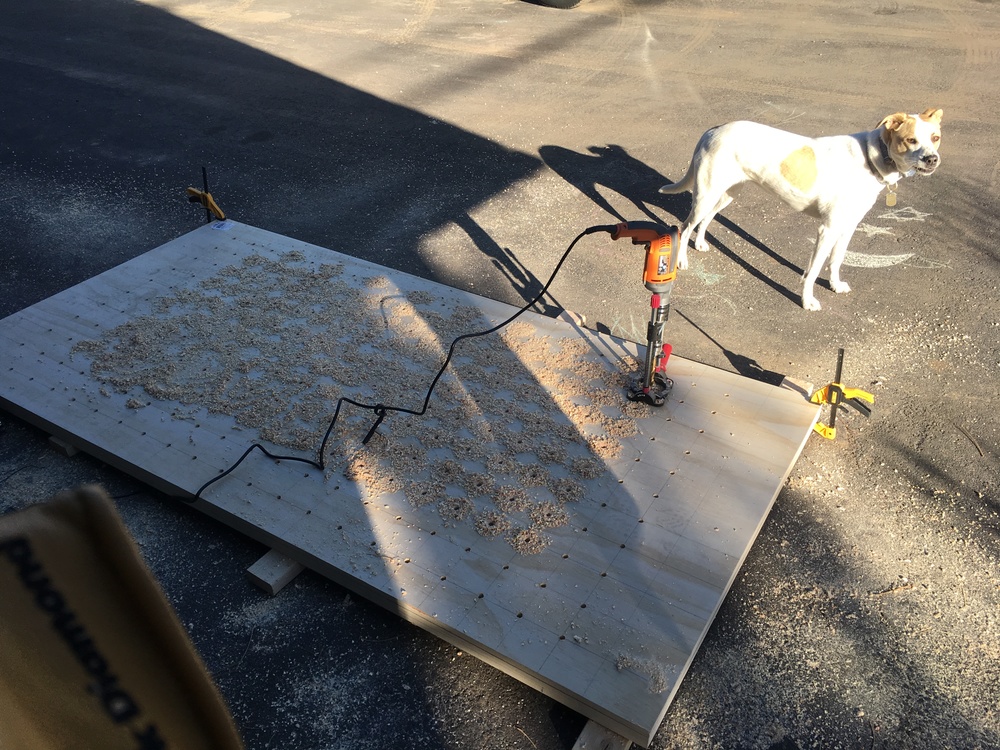
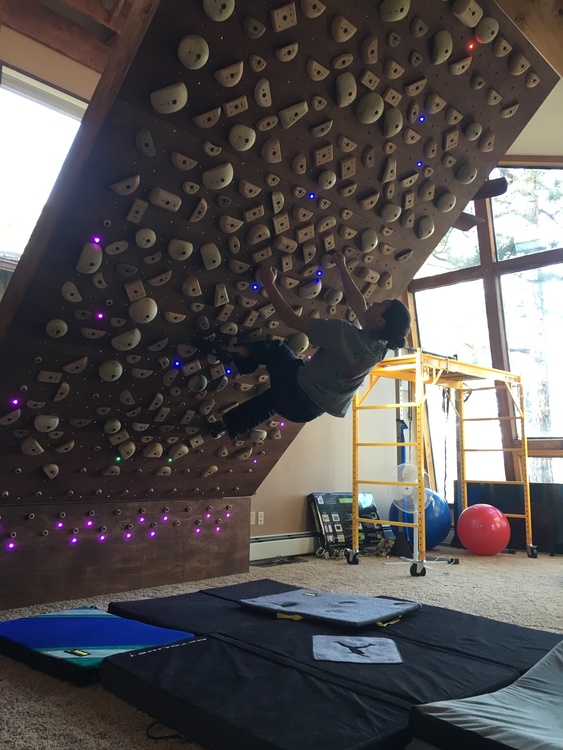
Optimistic wrote: Wow that looks like it could make for some exciting landings! Good looking wall though! Yeah the landing was awesome. My wife and I both have a set of crashpads that perfectly lined the stairs. So if you fell off you hit the crashpads like a slide and slid back to the beginning to try again. It was super fun! And some of my T-nuts ended up hitting on the studs or stiffiners I put between them, so after I was done I figured out the biggest drillbit I could fit into the t nuts and just boared out a little pocket behind the t-nut for the bolts to live in. That worked fine and I didn’t have to do any extra math or thinking lol. Took the easy way out, but hey if it works it’s not stupid right? |
|
|
Has anyone experimented with making their own holds out of wood? |
|
|
Greg Koeppen wrote: Has anyone experimented with making their own holds out of wood? What kind of advice? Sounds like a good idea. Plastic holds are expensive. I’ve made two different size pyramid volumes out of plywood and epoxy. They’re cool. I was thinking about making a big rail volume with different amounts of incut/pinch on each side next. Kind of the same thing. If you’re making a small rail you could just use dimensional lumber and a router. Then put a couple of recessed bolt holes into and reinforce them with steel fender washers? Or make it a screw on. Escape Climbing has cool hardware for making your own volumes and walls. Check out their screw hole insert/protectors. Make your screw on volumes last a lot longer. |
|
|
|
|
|
Greg Koeppen wrote: Has anyone experimented with making their own holds out of wood? If you have a wood shop with router table or shaper, bandsaw, tablesaw, drill press and belt sander, go for it. And hardwood. I have made some, a lot of work, difficult to predict breakage.I prefer making holds from rock, which i collect on trips. |
|
|
Optimistic wrote: Also, I saw a cool setup of a Tension board (but could be used for any adjustable board) at Central Rock Gym in Cambridge. The pics might be a little hard to interpret, but the board is right against the wall so I couldn't get everything in one picture. I was considering something similar to this but was concerned it might not be rigid enough - did you notice any bounce or movement making big powerful moves? |
|
|
Optimistic wrote: Also, I saw a cool setup of a Tension board (but could be used for any adjustable board) at Central Rock Gym in Cambridge. The pics might be a little hard to interpret, but the board is right against the wall so I couldn't get everything in one picture. Its amsteel blue, a hollow braid 8-12 strand dynema rope. Its strong stuff, however fidding the terminnation would be less cheap looking. I also cant tell... but i think that hoist is from harbor frieght. |