Continue with onX Maps
 Continue with Facebook


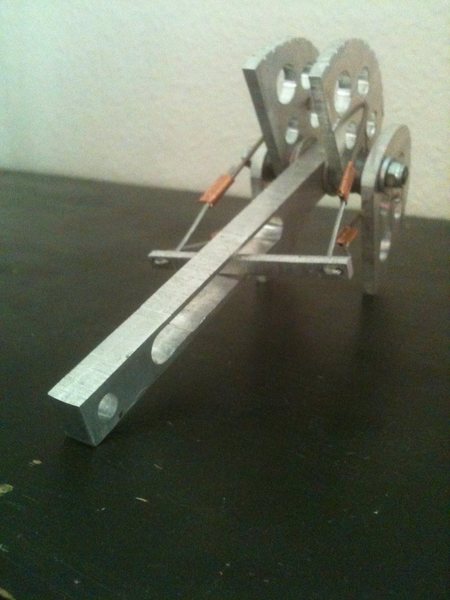
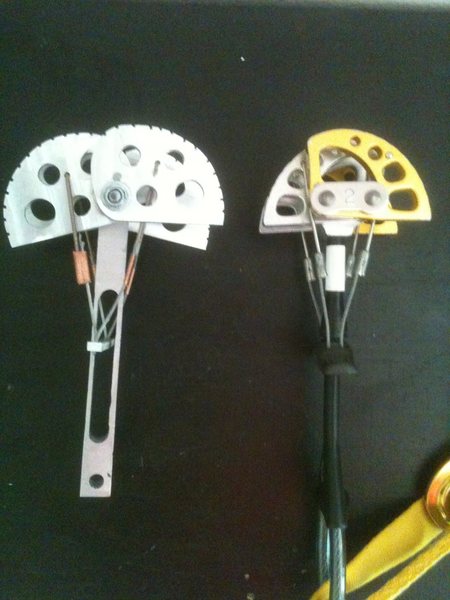
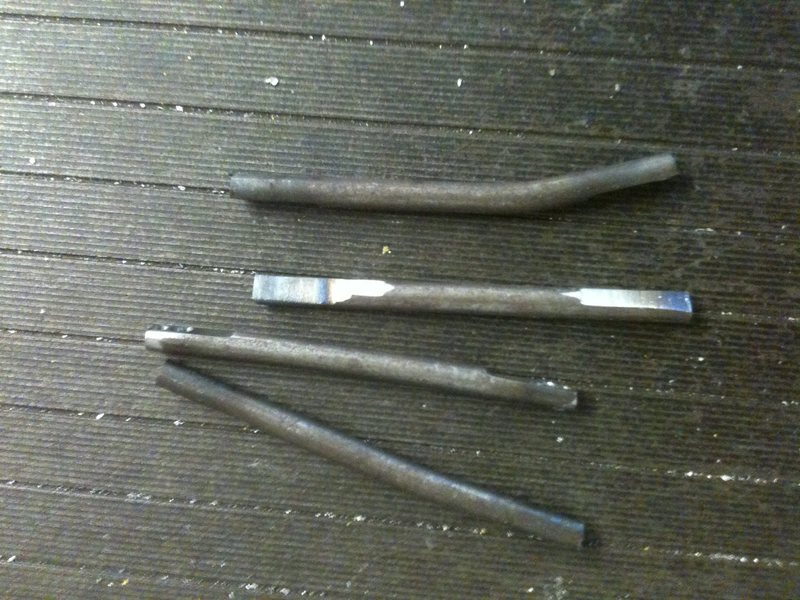
Building a Cam


|
|
looking good kevin. |
|
|
way cool. been fun following this project. |
|
|
UPDATE: |
|
|
UPDATE: |
|
|
Looking good! I know this is your baby, but are you going to test it when complete? |
|
|
looking good amigo |
|
|
Project looks great. Thanks for cotinuing to share your work. |
|
|
nice project Kevin keep the pics coming! My first set of nuts was homemade.i rounded up all sorts of scrap metal pieces i could find around the shop and drilled & swagged them. Heavy but bomber. |
|
|
UPDATE: |

|
Hey Kevin, |
|
|
Looks clean, and executed well. Don't forget to deburr and break sharp edges. You could also round off the end of the stem with a radius. |
|
|
Awesome work and cool project! Thanks for keeping the thread updated so we could follow along. Keep it going and do some light load testing when you're ready! |
|
|
Colin Parker wrote:Awesome work and cool project! Thanks for keeping the thread updated so we could follow along. Keep it going and do some light load testing when you're ready!I disagree with Colin, destructive testing would be a great idea. Do you have access to a load cell at your school in your materials engineering lab? A destructive test will also show you your failure points. Hardest part is picking the best test (i.e. what failure mode to test) and the best way to record and quantify your results. I think starting with a dynamic factor two fall would good. You can check for deformation and then keep preogressing the tests until something busts or bends beyond usability. |

|
If you do dynamic testing be sure to wear safety glasses and stand back. I helped my son with a middle school science fair project where we looked at the peak loads of different anchor setups at failure. When things broke the recoil was impressive and I sent stuff flying all over our garage. |