
 Continue with onX Maps
 Continue with Facebook


Stratosphere

5.10c/d YDS 6b+ French 21 Ewbanks VII+ UIAA 21 ZA E3 5b British C2-

 Avg: 2.7 from 20
votes
Avg: 2.7 from 20
votes
Routes in Triangle Wall
|
|
A Day in Scotland T WI4 M5+ Steep Snow PG13 |
|
|
Broken Rhombuses T 5.12c 7b+ 27 IX- 27 E6 6b |
|
|
Cocoa Puffs WI3 |
|
|
Code Blue T 5.11 6c+ 23 VIII- 23 E4 5c A2+ |
|
|
Less Than or Equal To T 5.9 5c 17 VI 17 HVS 5a A2+ |
|
|
Stratosphere T 5.10c/d 6b+ 21 VII+ 21 E3 5b C2- |
Order Wrong?
Sort Routes
| Type: | Trad, Aid, 300 ft (91 m), 5 pitches, Grade IV |
| FA: | James Garrett, Michael Franklin, and Seth Shaw, 1986 |
| Page Views: | 4,698 total · 22/month |
| Shared By: | Christian "crisco" Burrell on Oct 5, 2006 |
| Admins: | Andrew Gram, Nathan Fisher, Perin Blanchard, GRK, D C |
Your To-Do List:
Add To-Do ·
Your Star Rating:


Use onX Backcountry to explore the terrain in 3D, view recent satellite imagery, and more. Now available in onX Backcountry Mobile apps! For more information see this post.
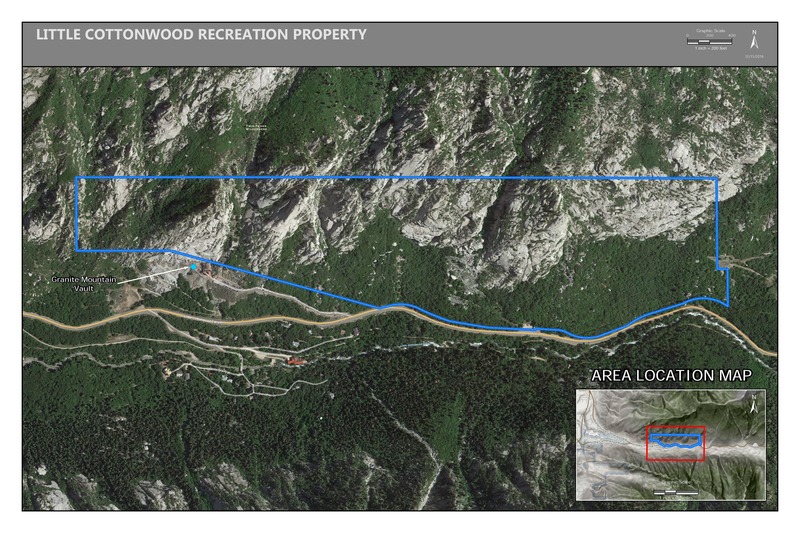
 Access Issue: Gate Buttress Area Recreational Lease: Climbs on Church Buttress above vault remain closed
Details
Access Issue: Gate Buttress Area Recreational Lease: Climbs on Church Buttress above vault remain closed
Details
Climbers Partner with LDS Church on Stewardship of Little Cottonwood Canyon Climbing
June 1st, 2017:The Salt Lake Climbers Alliance (SLCA), the Church of Jesus Christ of Latter-day Saints (LDS Church), and Access Fund announce the signing of an unprecedented lease for 140 acres in Little Cottonwood Canyon (LCC). The parcel, known as the Gate Buttress, is about one mile up LCC canyon and has been popular with generations of climbers because of its world-class granite.
The agreement secures legitimate access to approximately 588 routes and 138 boulder problems at the Gate Buttress for rock climbers, who will be active stewards of the property. The recreational lease is the result of several years of negotiations between LDS Church leaders and the local climbing community.
Access Note: The climbs on the Church Buttress above the vault as well as the Glen boulders that have been traditionally closed will remain closed.
Please help us steward this area and leave no trace.
Read More:
saltlakeclimbers.org/climbe…
Description
LOTS OF FUN!!!
P1 Pretty mello climbing (past a pretty, new bolt) to a smack-you-in-the-face slab. I found the left traverse after turning the roof a bit nerve-wracking. It made me wonder why the newer bolt was placed lower down and not right there. Nice bolted belay. I had a belay seat which made all the belays very nice.
P2 Short left-facing and leaning corner. The crux seems like just getting started. Way fun and VERY free-able. Belay at some old pins that you can back up with small (i.e., tiny) cams.
P3 This is where the good stuff begins! Easy thin nuts get you warmed up for the rad arch feature. This was only really made difficult by my not bringing enough of the right piece. The crack widens about halfway but make sure you bring several SMALL cams. I had one 000 C3. If I had 2 more, this part would've been a breeze!
The bolt ladder is cake as the bolts are only about 3-4 feet apart. Some of these bolts could REALLY use replacing. The right shuffle with a hook is very cool. You can top step and skip the last fixed mank. Three-bolt hanging belay (bring your seat). The right most bolt is nice brand new one (why didn't someone replace a few others?), the others are the old button heads.
P4 Another good one. More easy bolt ladder work to a great traverse. The crack has a few fixed pins, but reaching the first one can be tough. We used a red C4 in a flare that worked great. I originally used hooks in the little holes between pins but Tristan was able to get small C3's into 'em just fine. Those C3's are the greatest small cams ever!
The finish to this pitch is a somewhat committing 5.8 slab. Possible to finish using aid but be ready to garden a bit in a dirt-filled crack. Use a big tree to belay. From here it is possible to rap all the way to the ground with doubled 70 meter ropes in one rap (60m would be really close, I think).
P5 We skipped this one this time but I did it years ago. There is a new bolt (that I don't remember being there before) at the start of the right traverse. I remember this last bit to be a bit cruddy and not really anything I wanted to do again, but J.G. thinks it is pretty good. I guess it has been bolted up now. The only thing that would make me do it again is the big rap. You end up going right over the lip of the HUGE roof on the right. You get way out from the wall! One more rap from a big tree puts you back on the ground.
This is a great mini adventure route that every aid wanna-be should do. Just don't bring too much gear!
Complete kudo's to the guys to put this route together! Great job!
Protection
- C3's: At least one set (two sets would be better—C'mon get em! So worth it!).
- C4's: One set to yellow (we used the yellow twice).
- Nuts: Only small sizes (5 or so is all you need).
- Hooks: One skyhook is required.
- Biners: Bring about 20 free biners or draws.
Other than your personal aid stuff, that is all you really need.


13 Comments